Open the ready drawing project
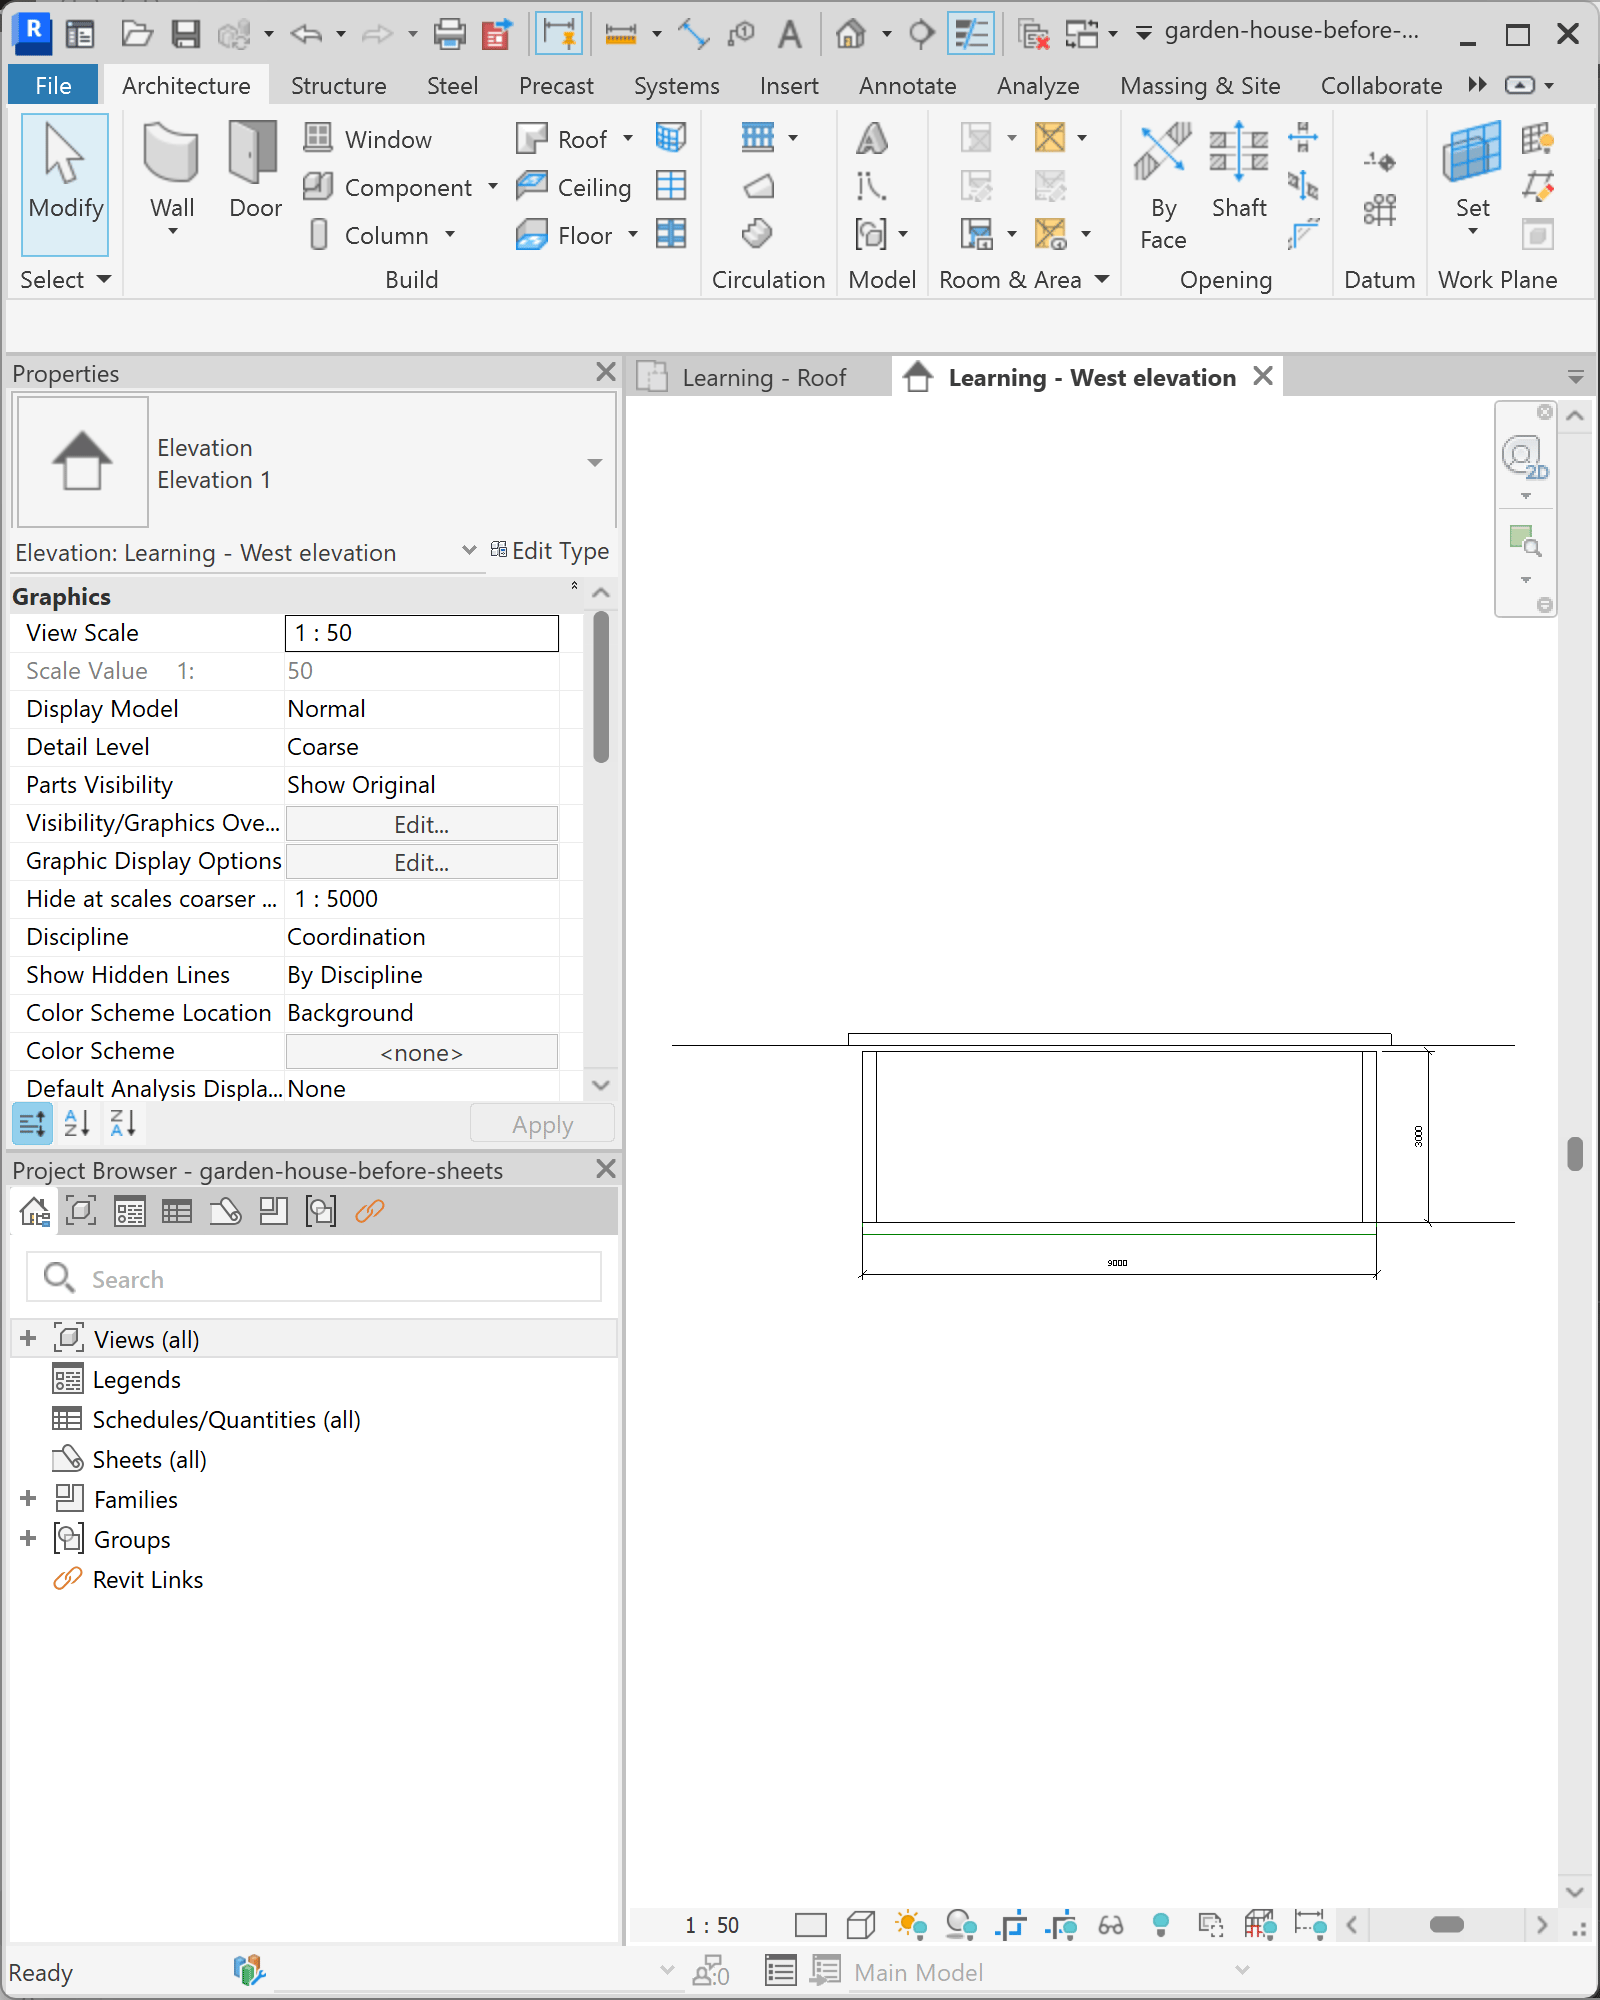
Open the practice RVT in Revit and save a working copy. Inspect a plan and an elevation: both should already have the annotations you want to include on the sheets.Check the Sheets section of the Project Browser. We will create new sheets for these views and keep any existing sheets unchanged.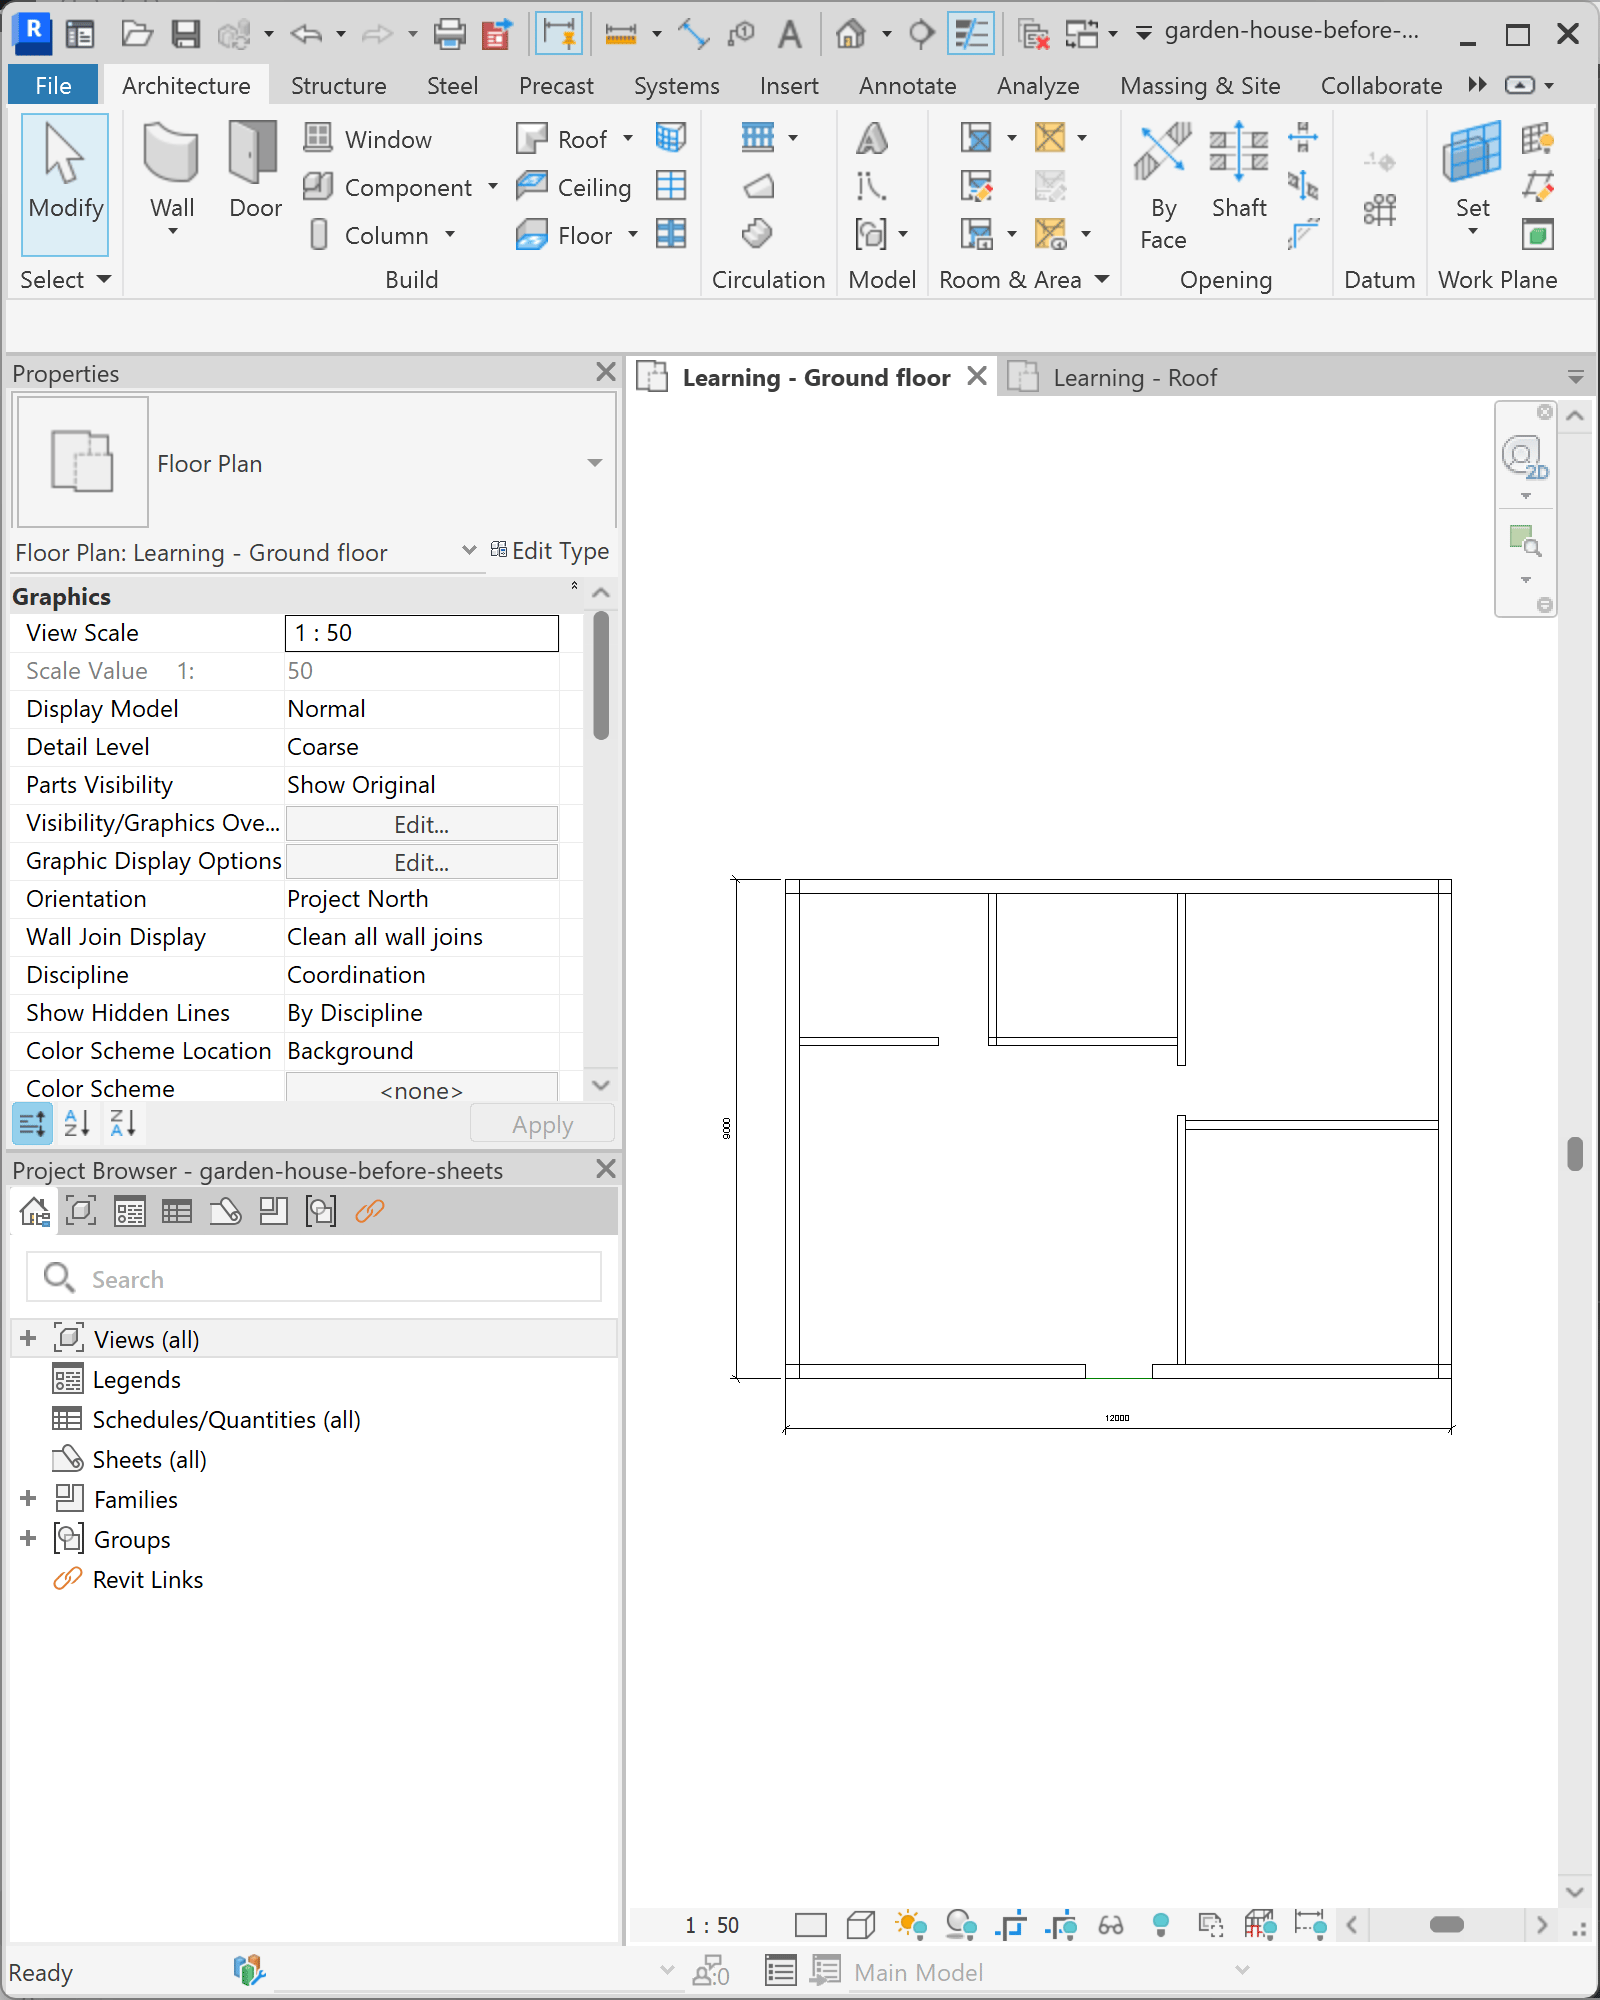
Connect Revit in a new chat
Start a new conversation in Studio. Open Connected Apps and select the practice project you opened in Revit.Keep Studio beside Revit so you can review the drawings as the automation runs.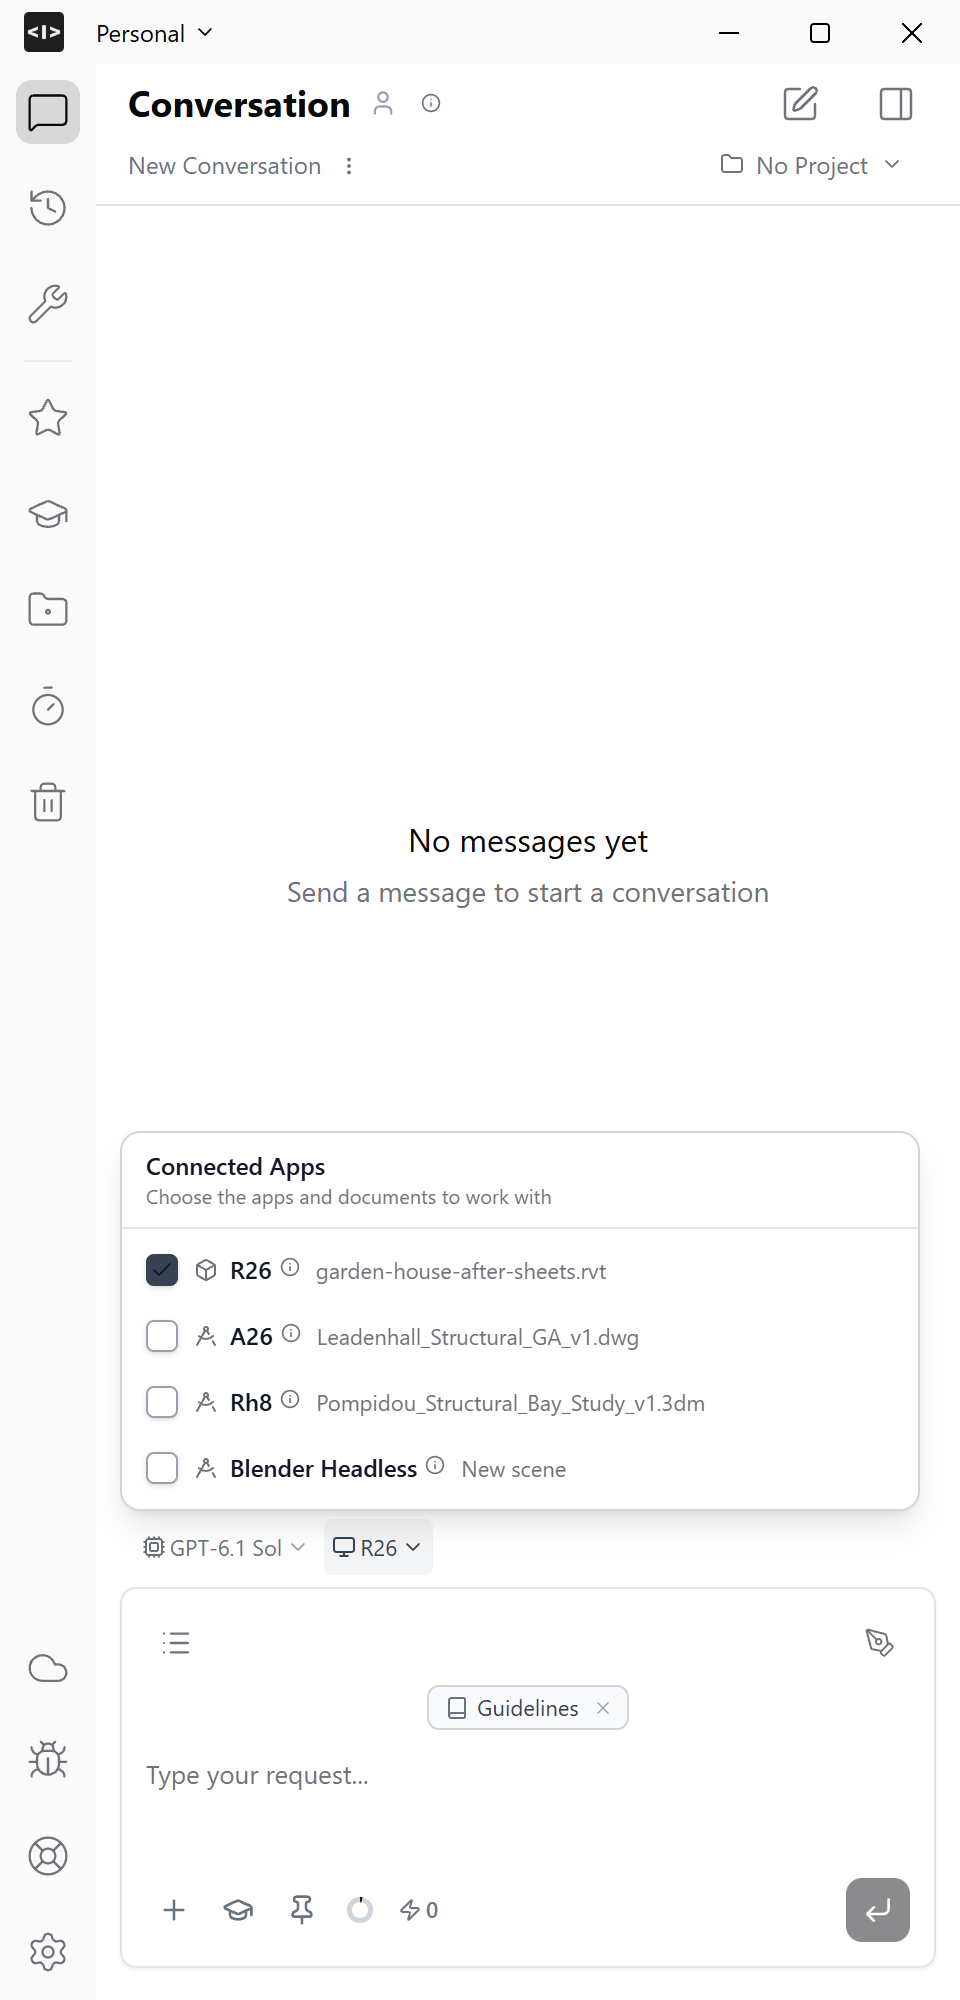
Ask for a sheet-layout automation
Tell Ideatura which drawings you want to place and what you want to control before each run: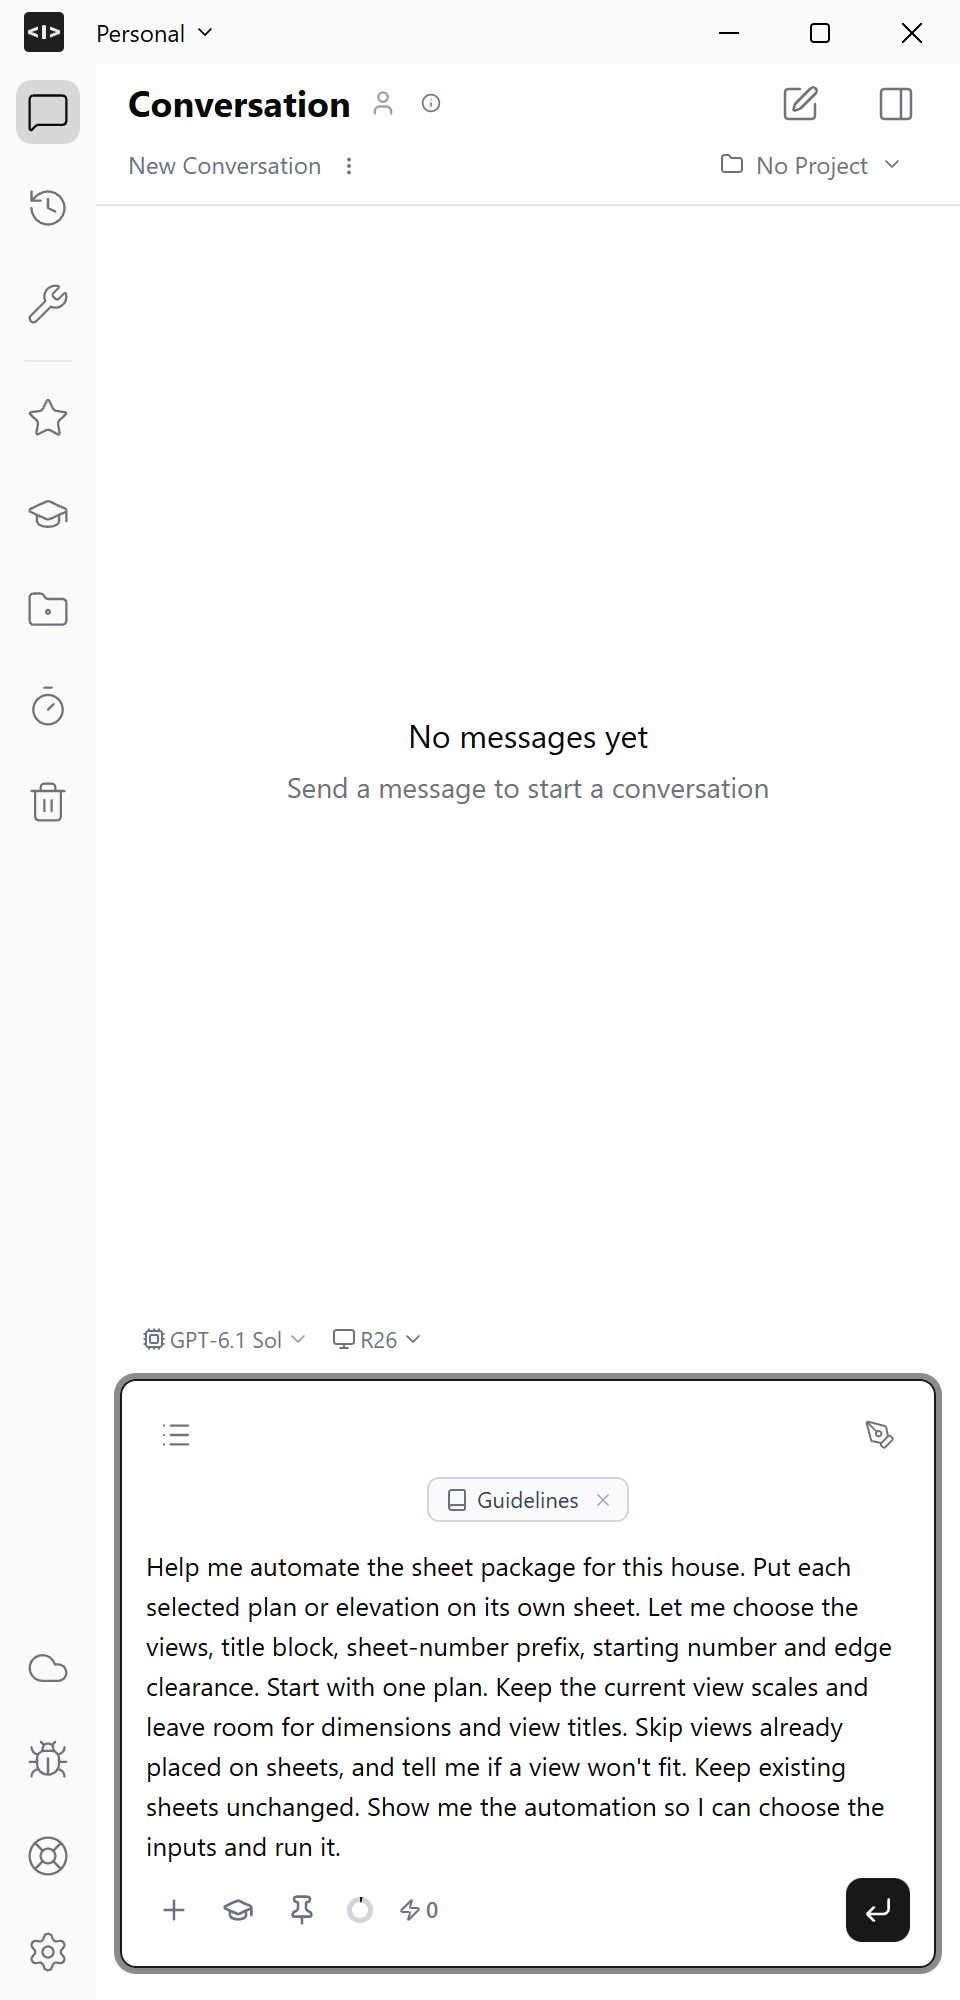
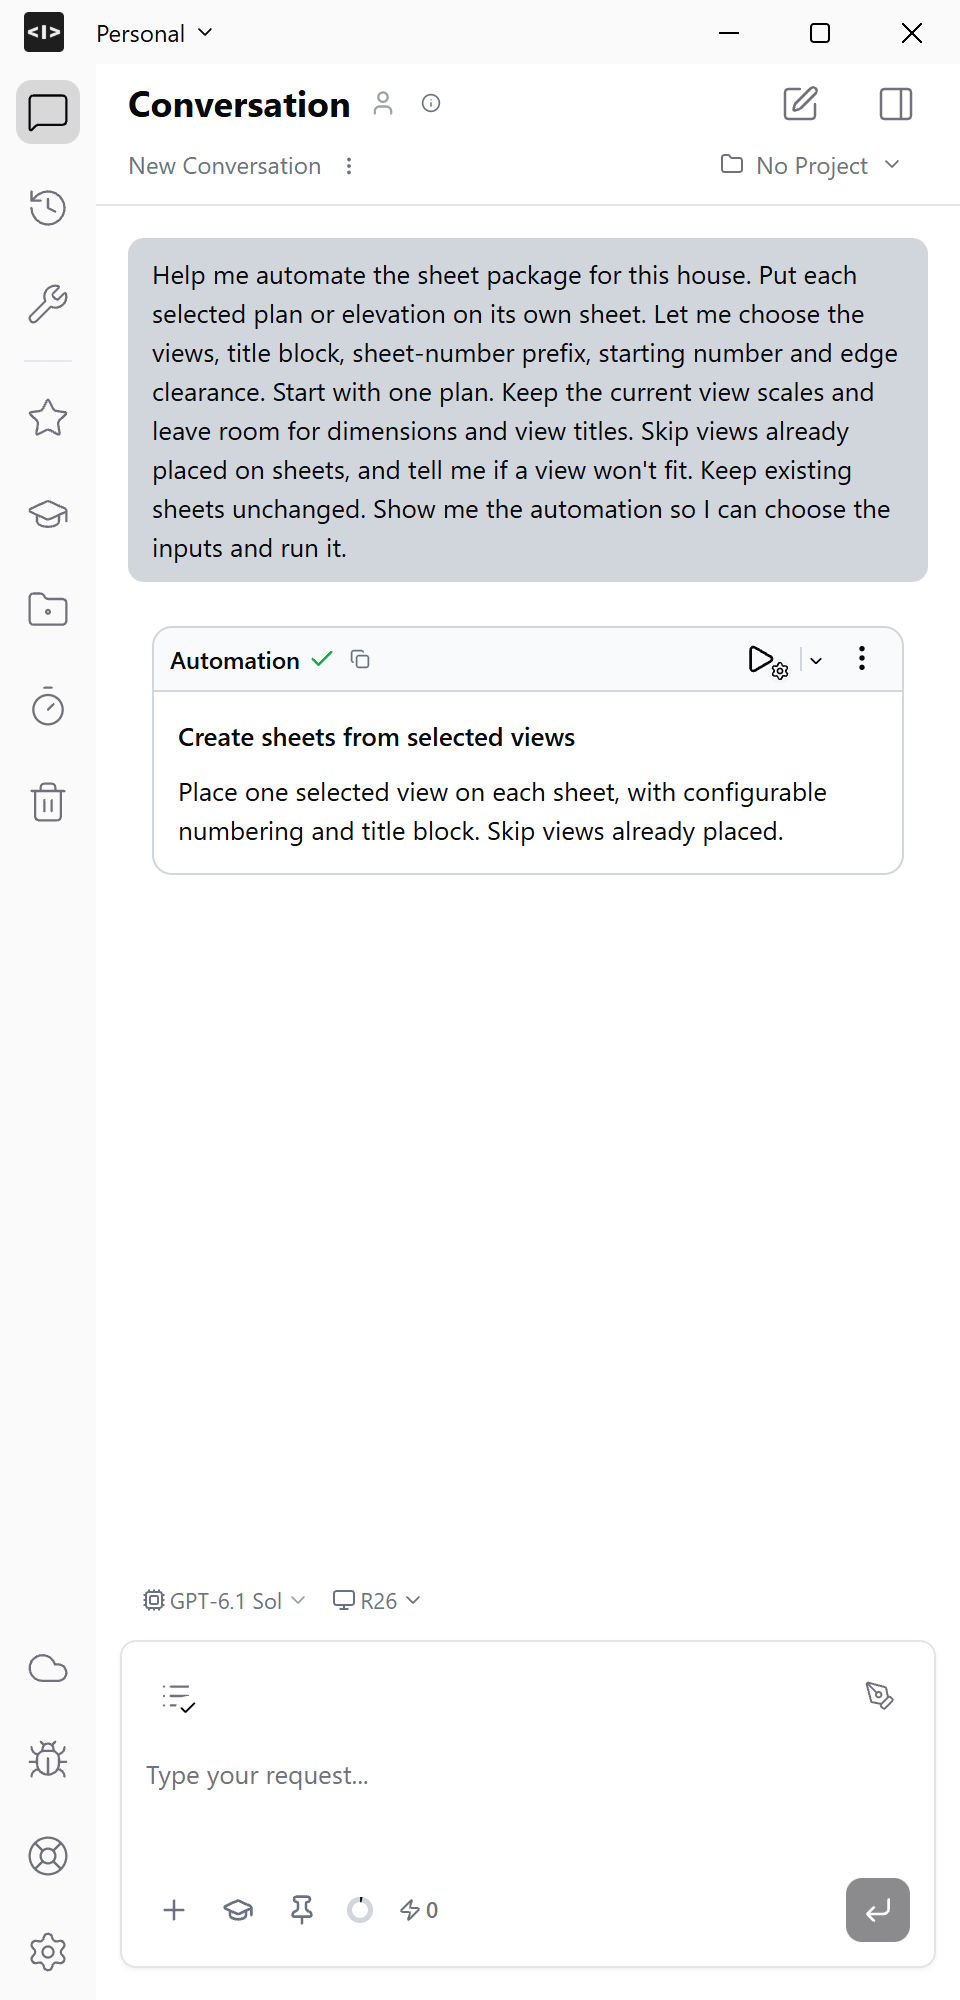
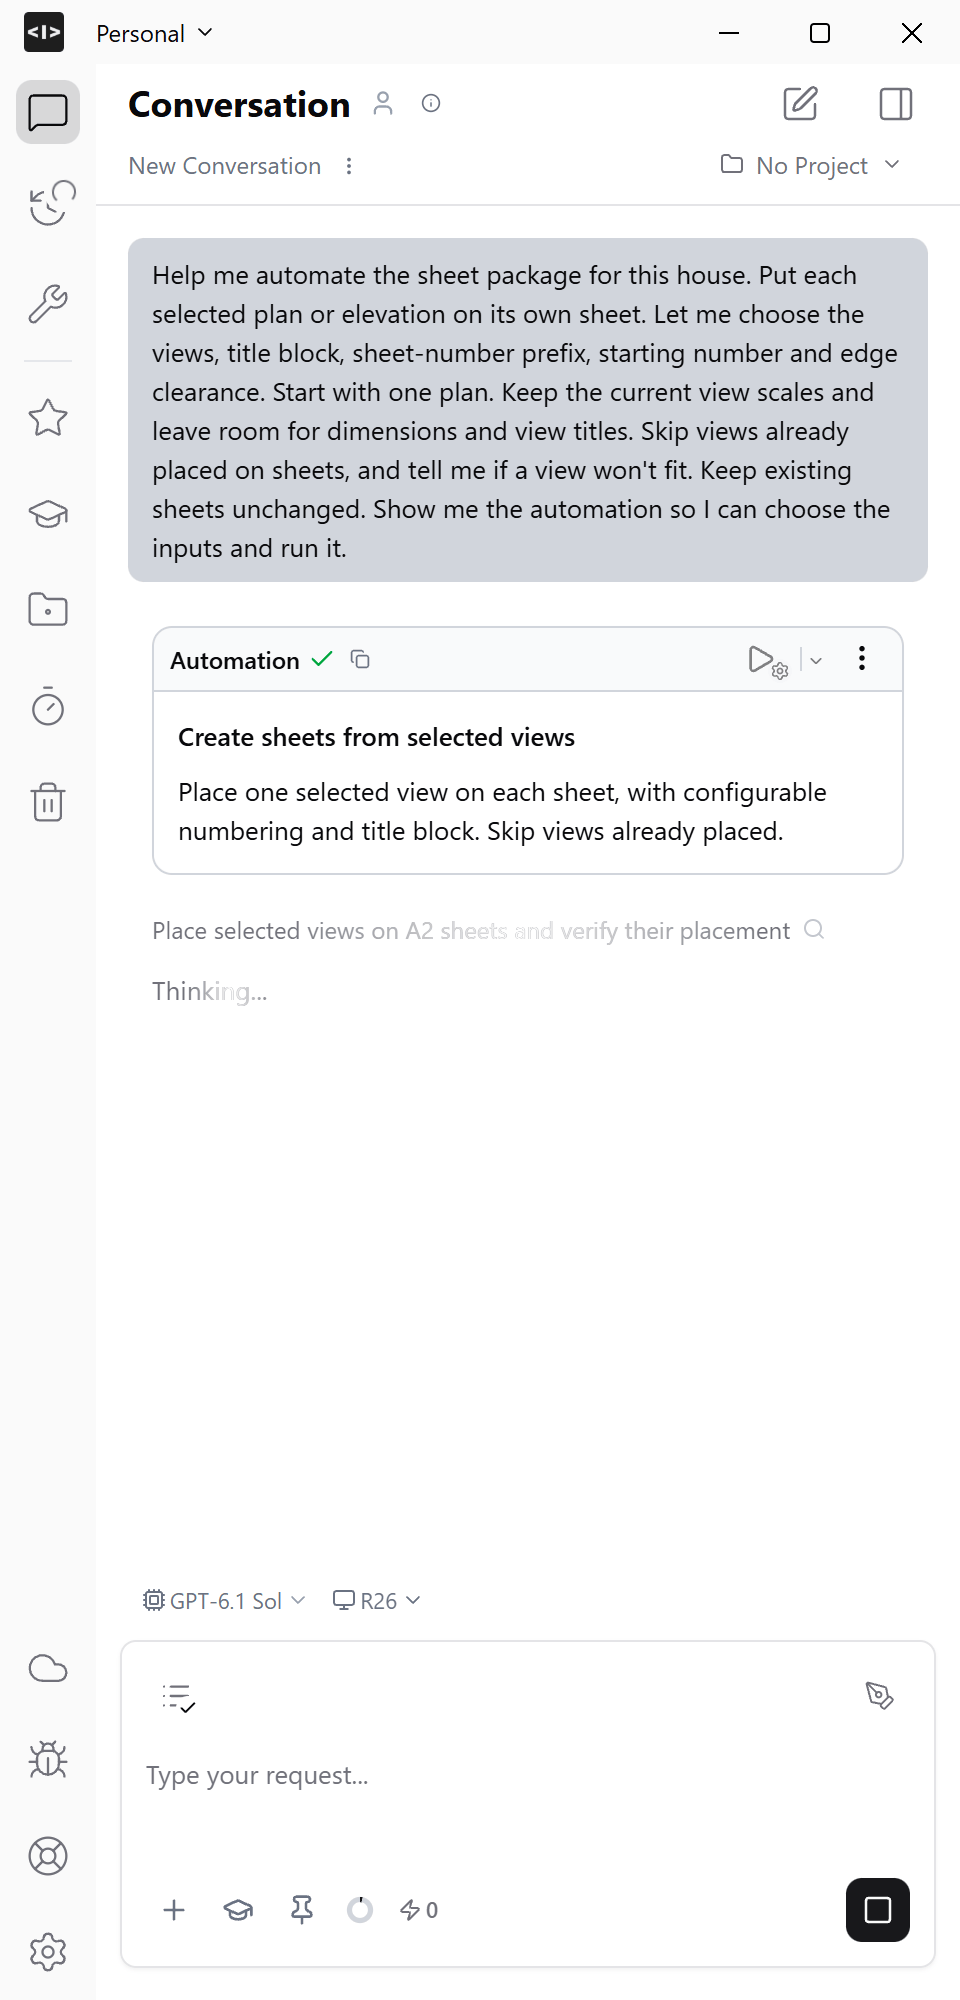
Help me automate the sheet package for this house. Put each selected plan or elevation on its own sheet. Let me choose the views, title block, sheet-number prefix, starting number and edge clearance. Start with one plan. Keep the current view scales and leave room for dimensions and view titles. Skip views already placed on sheets, and tell me if a view won’t fit. Keep existing sheets unchanged. Show me the automation so I can choose the inputs and run it.Ideatura checks the available views and title blocks, then creates an automation card. If the project needs a larger title block, load it before running the automation.
Run it for one plan
Open Run with params on the new automation. Select Learning - Ground floor, the A2 metric title block, a sheet-number prefix of A- and a starting number of 101. Keep the edge clearance at 15 mm, then click Run.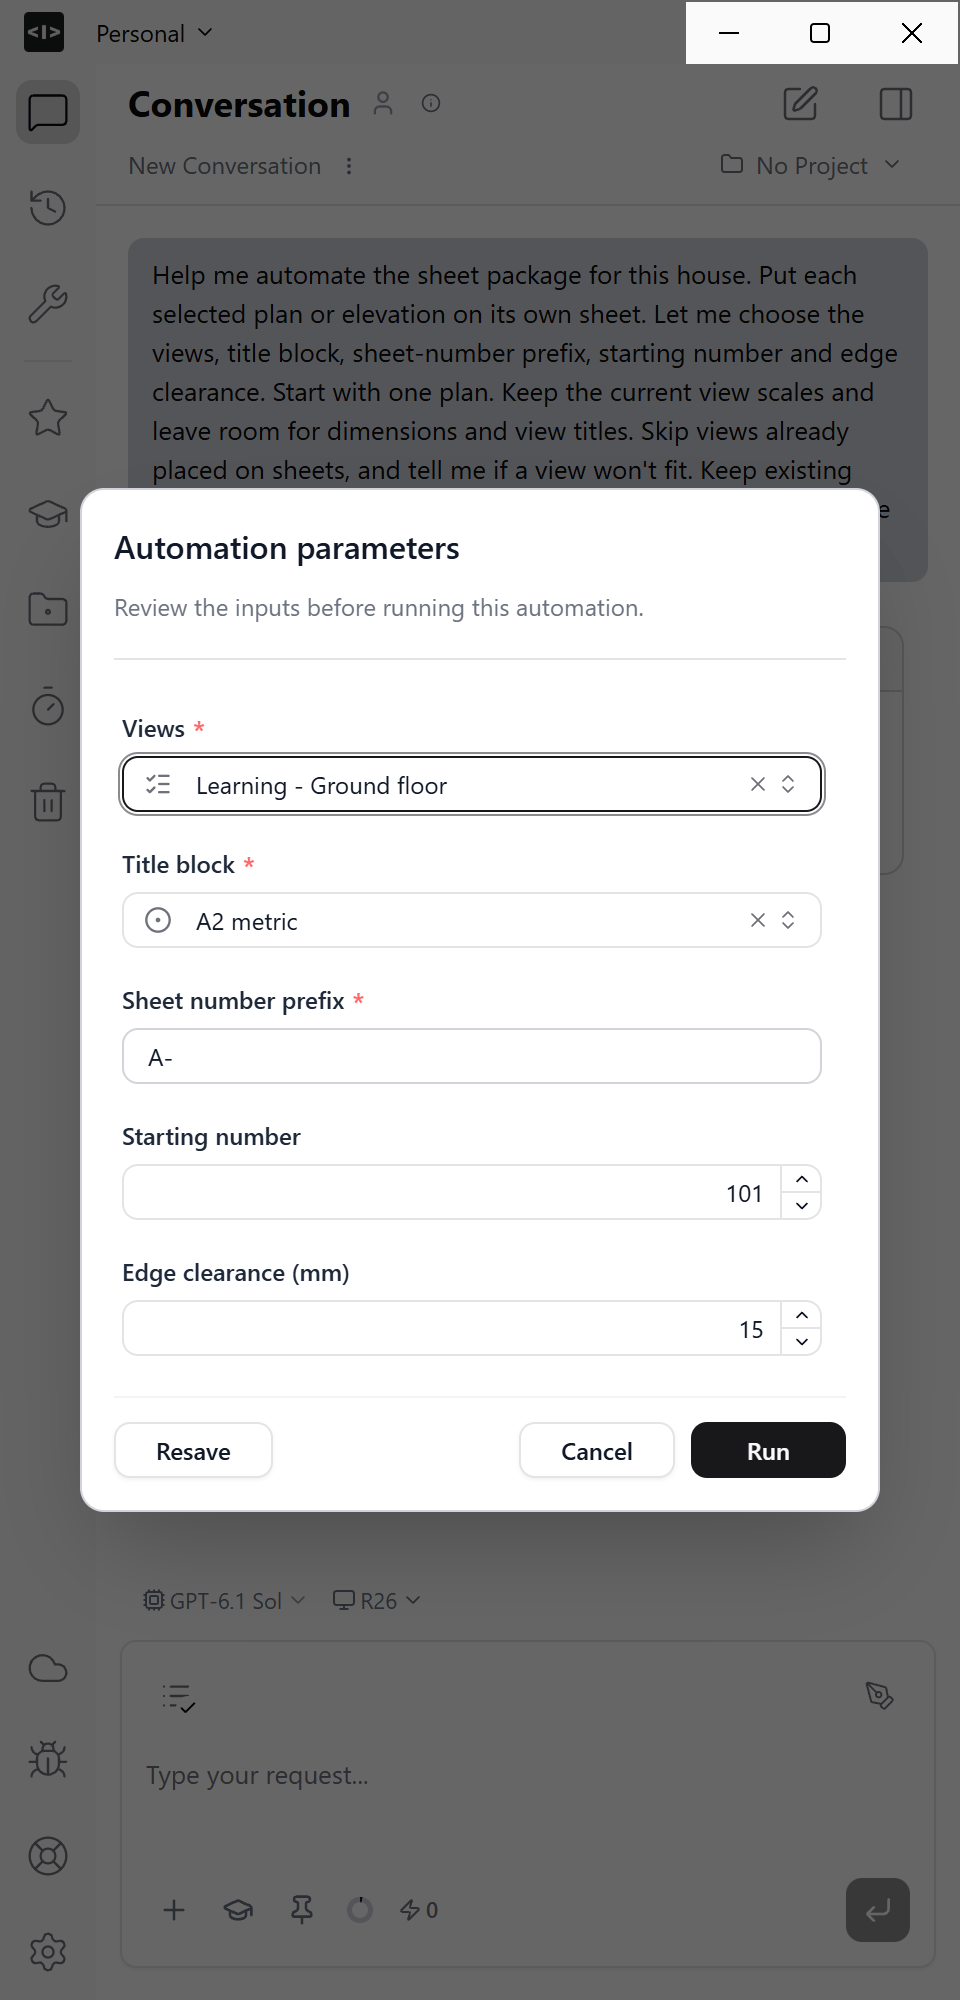
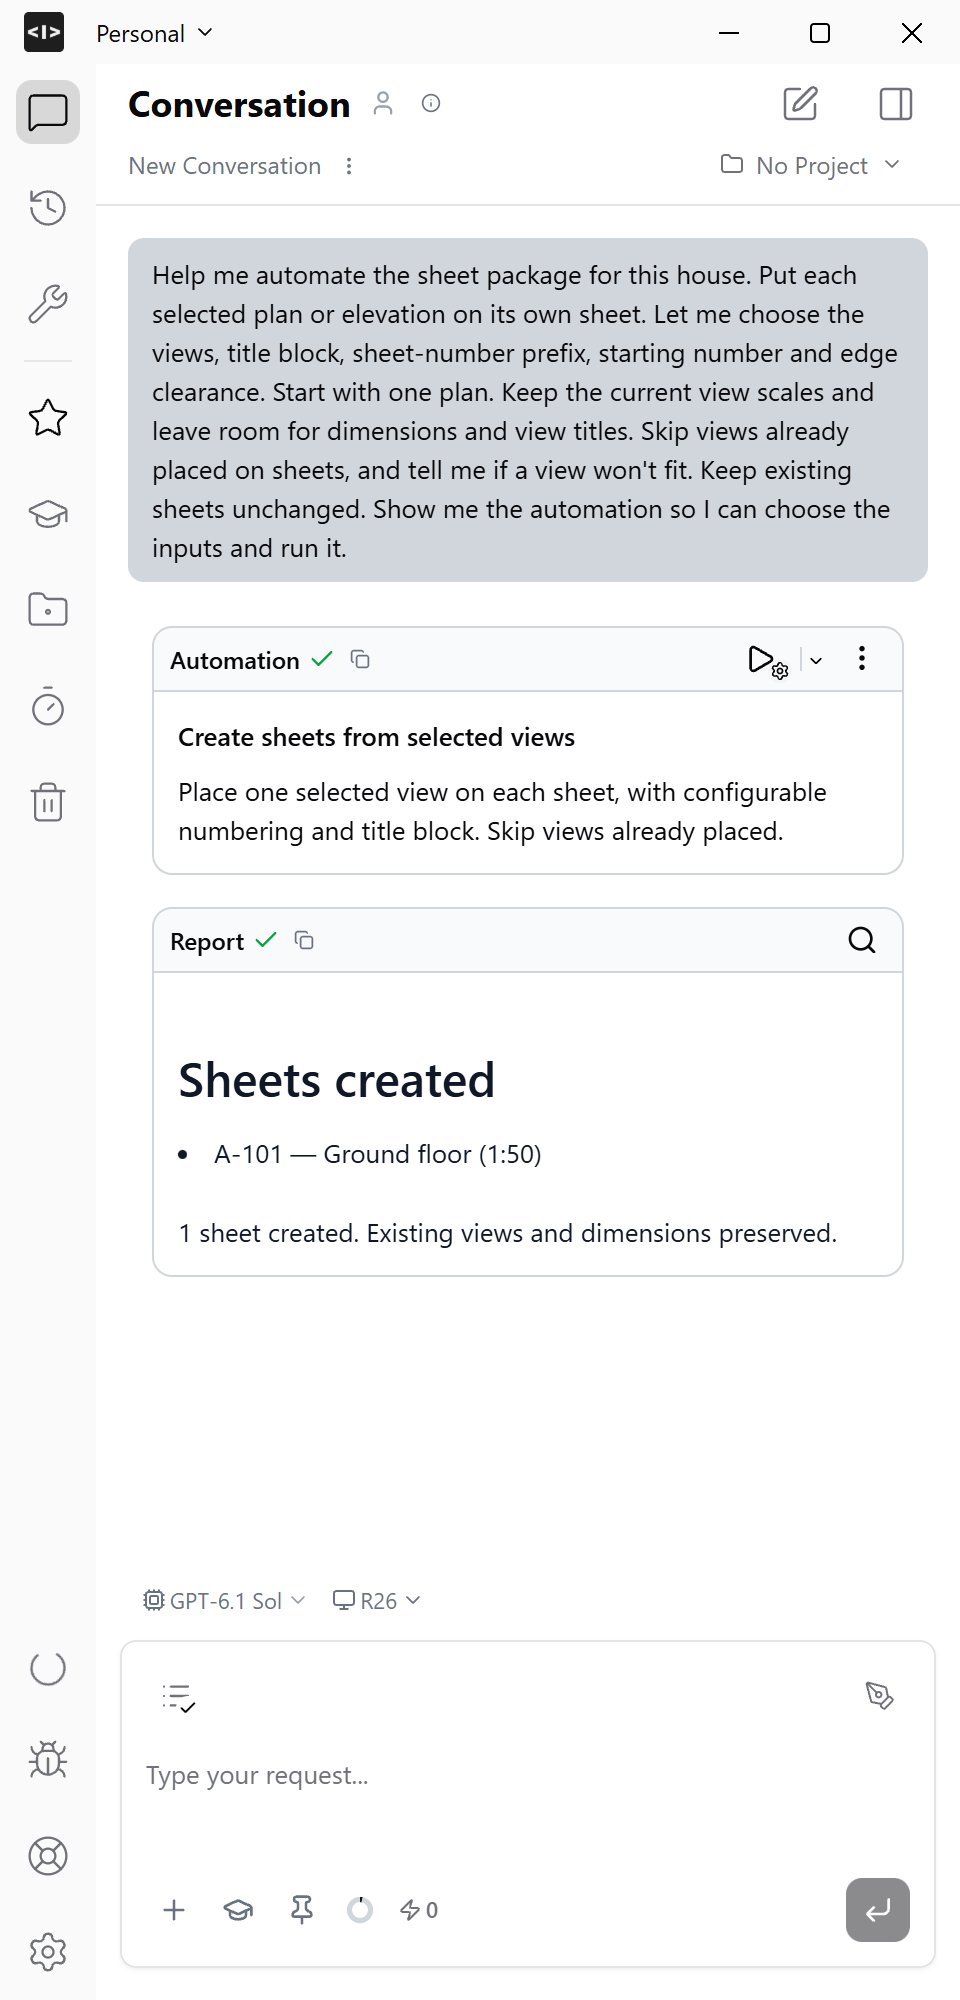
Check the first sheet
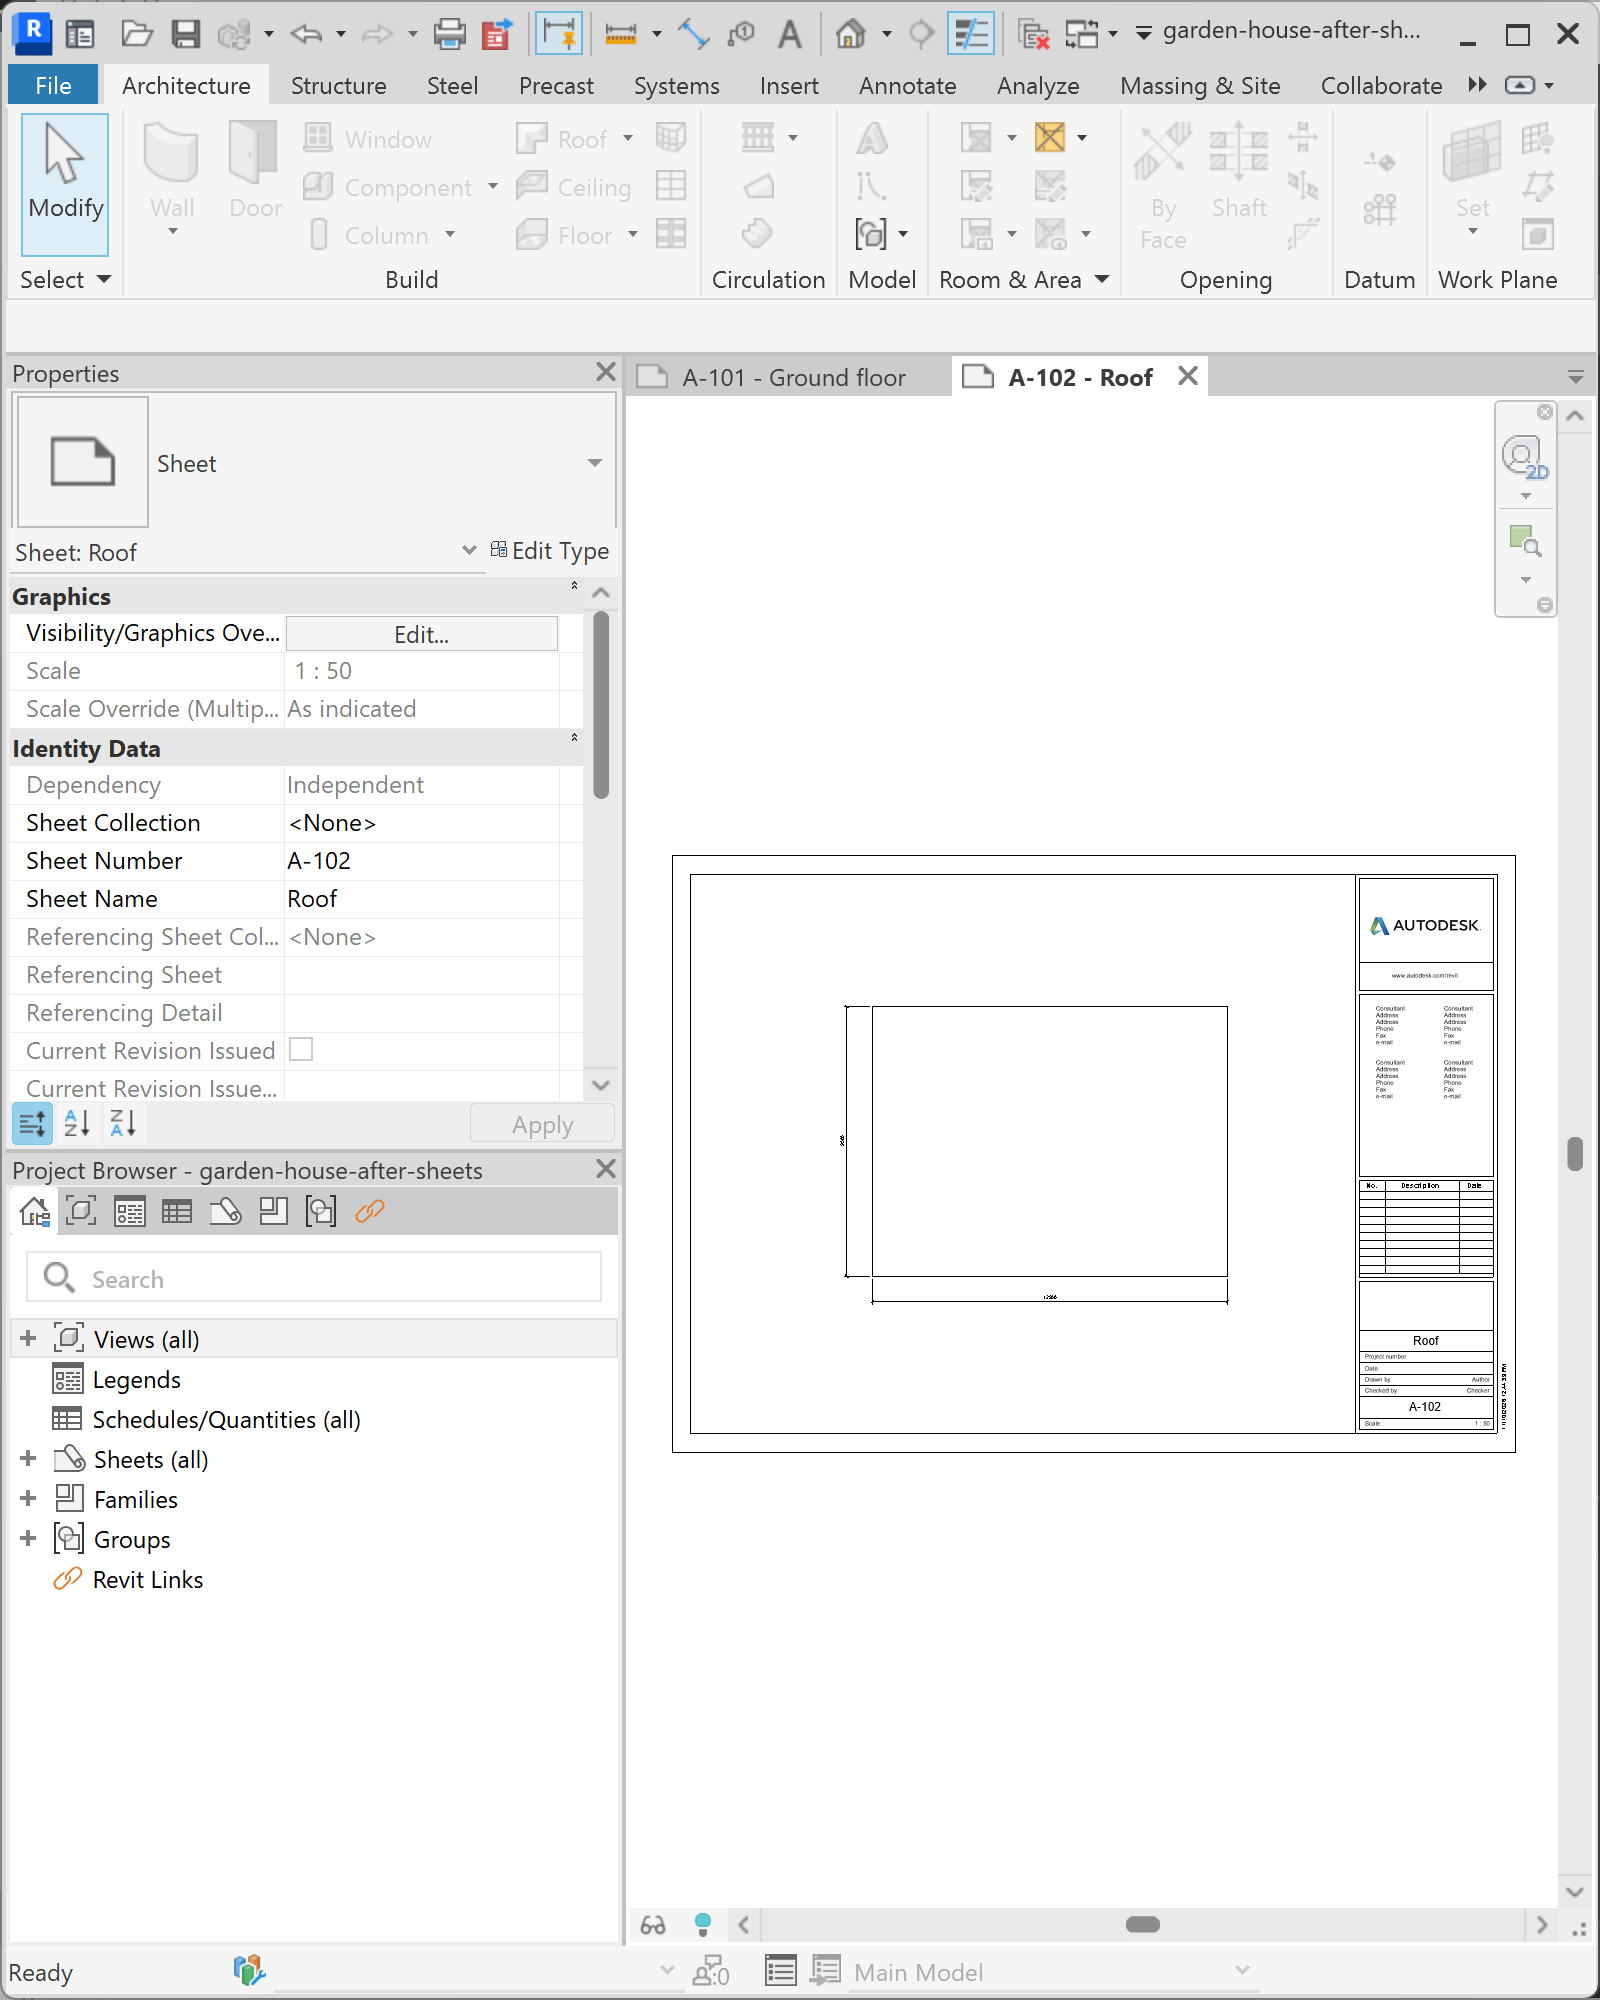
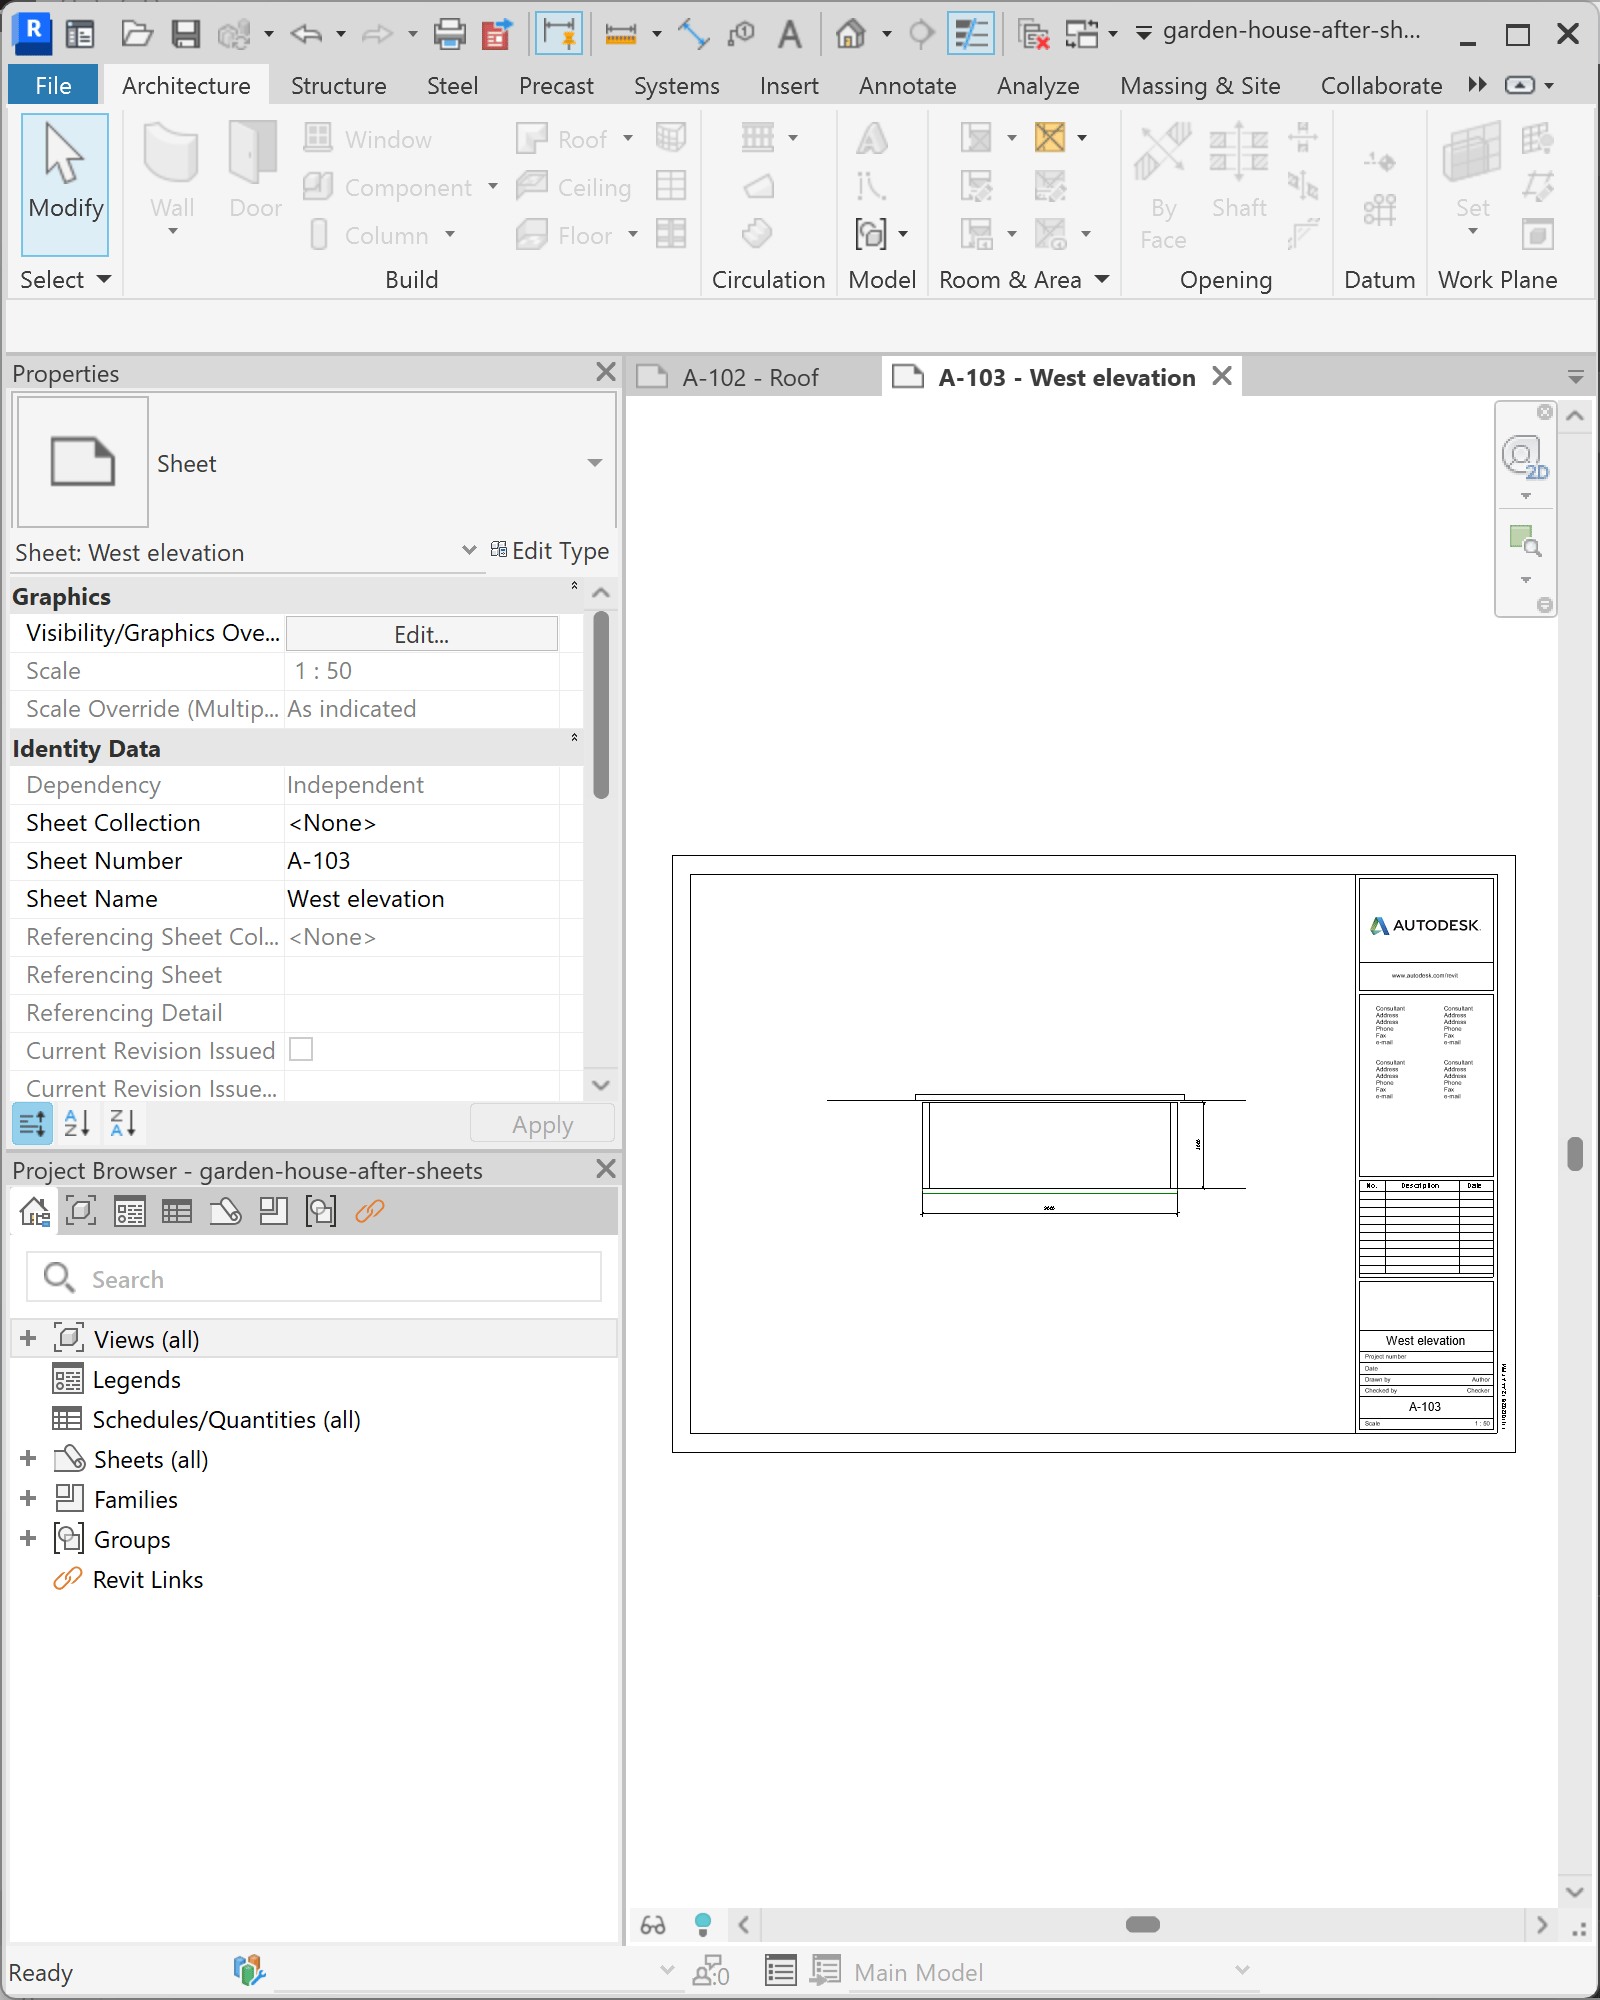
Inspect the complete sheet in Revit, including the title block and the area around the drawing.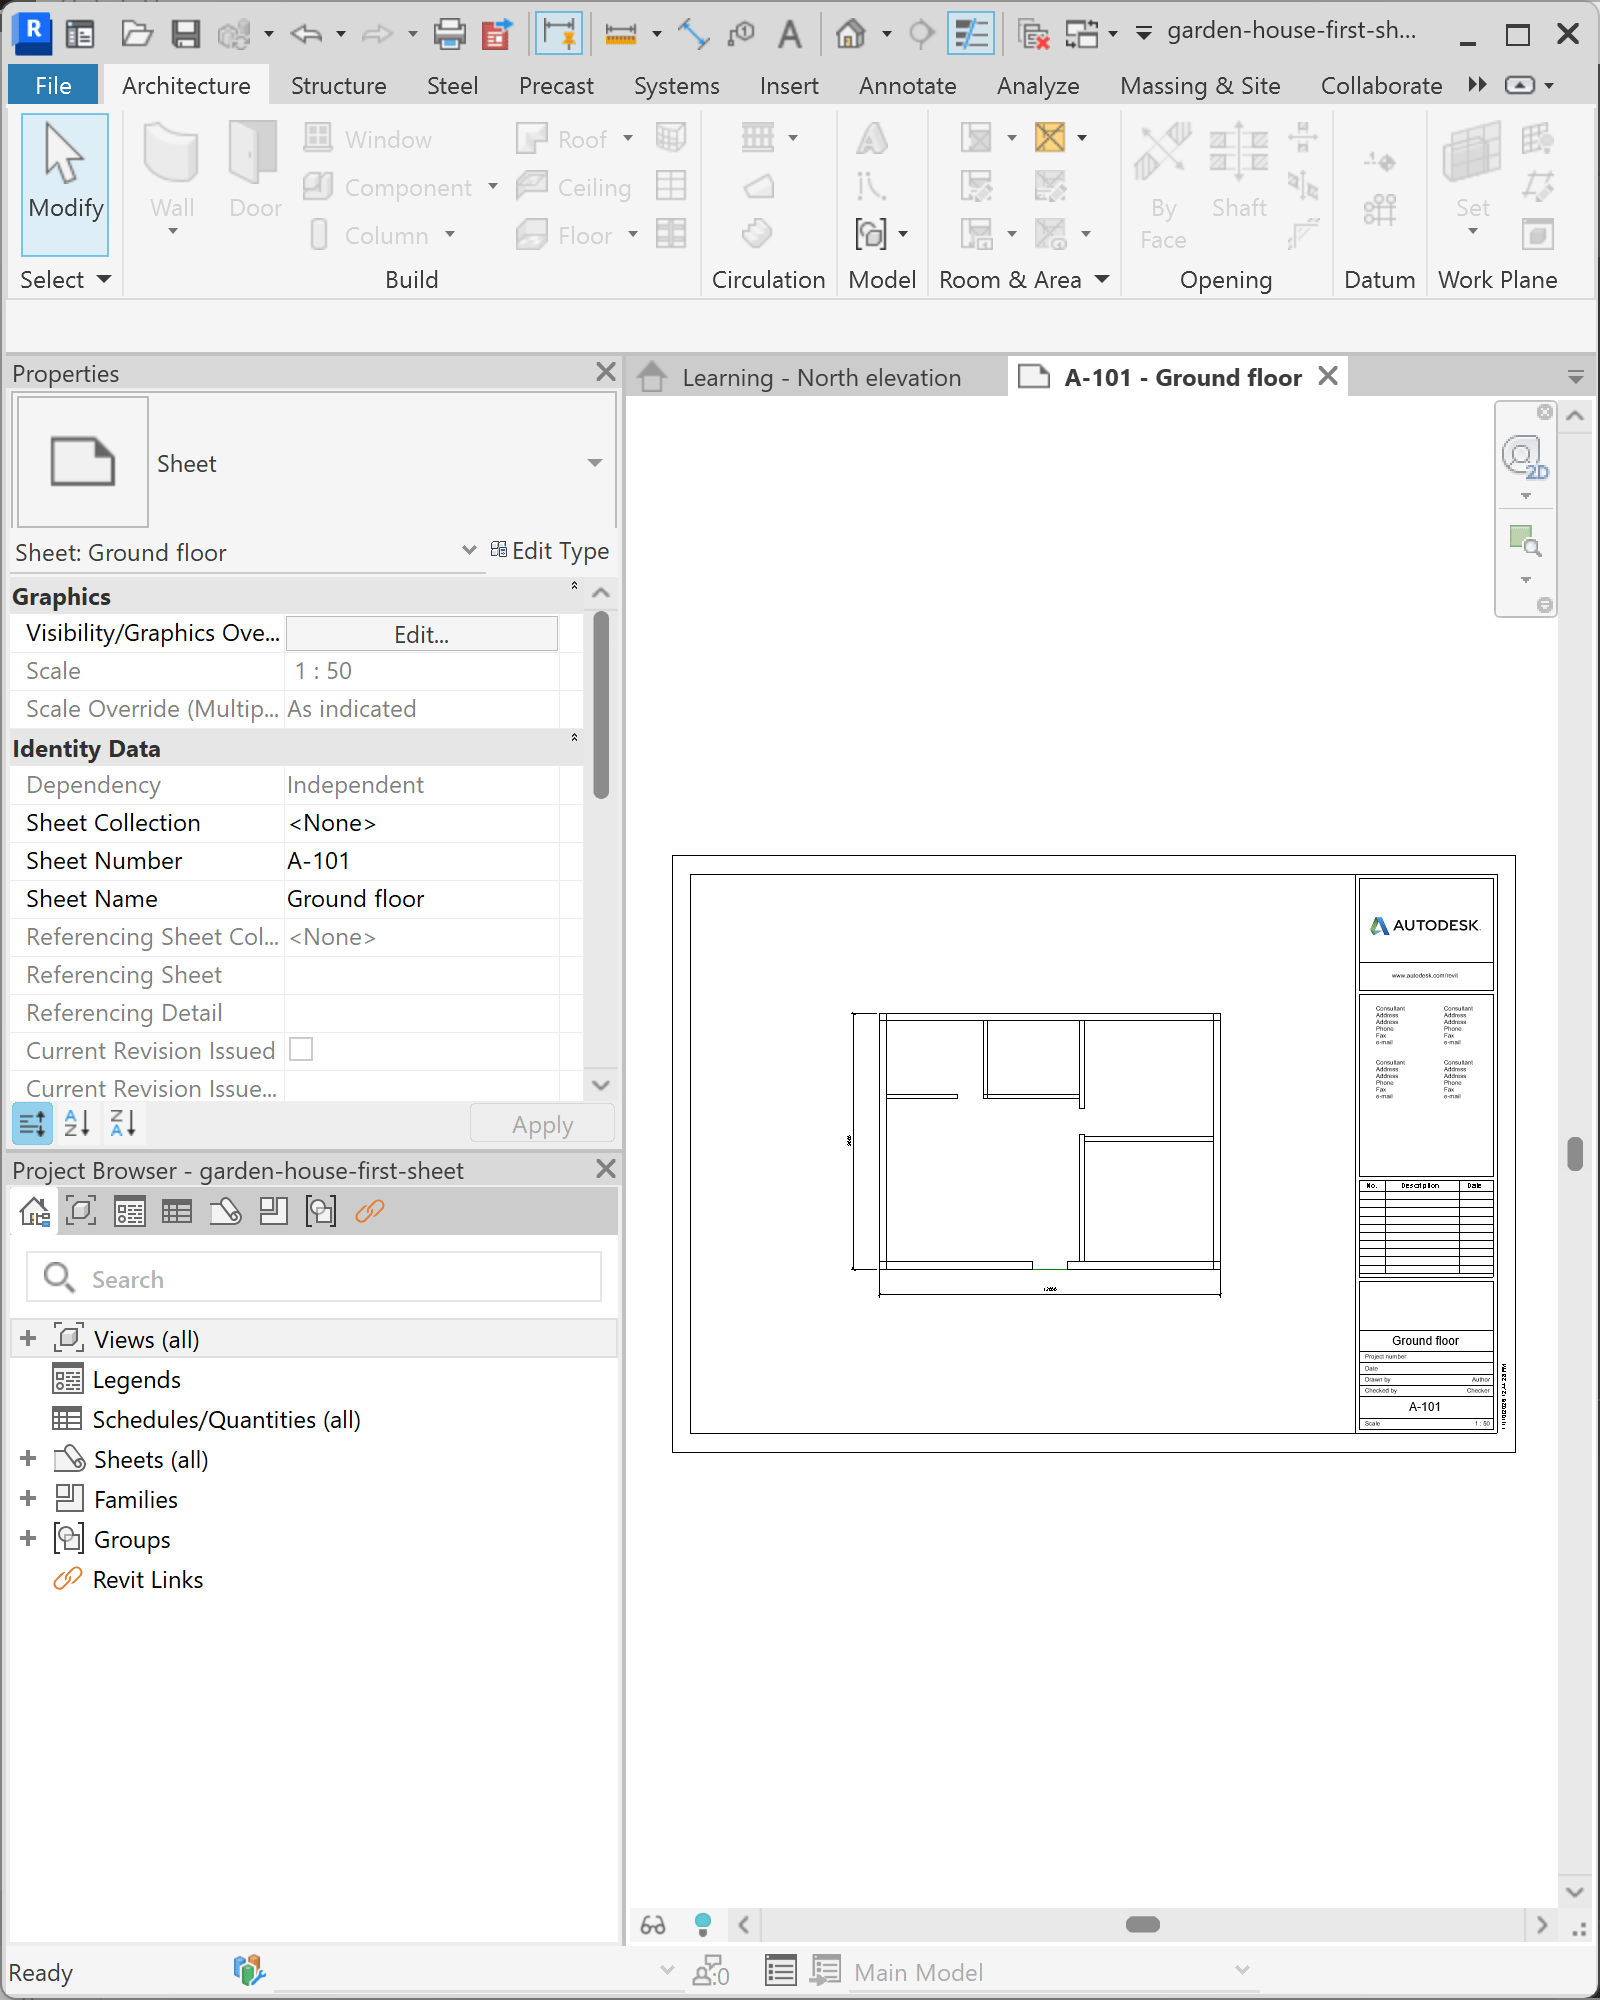
- The view, dimensions and viewport title fit inside the usable sheet area.
- The view scale is unchanged and the annotations are readable.
- The sheet number is correct and does not duplicate an existing number.
Leave more space below each viewport for its title. Keep all dimensions visible and keep the view scales unchanged. When a drawing doesn’t fit, report it instead of shrinking the view.
Create the remaining sheets
Open Run with params again. Select the remaining plans and elevations, review the title block and continue the numbering after the first sheet. Run the automation.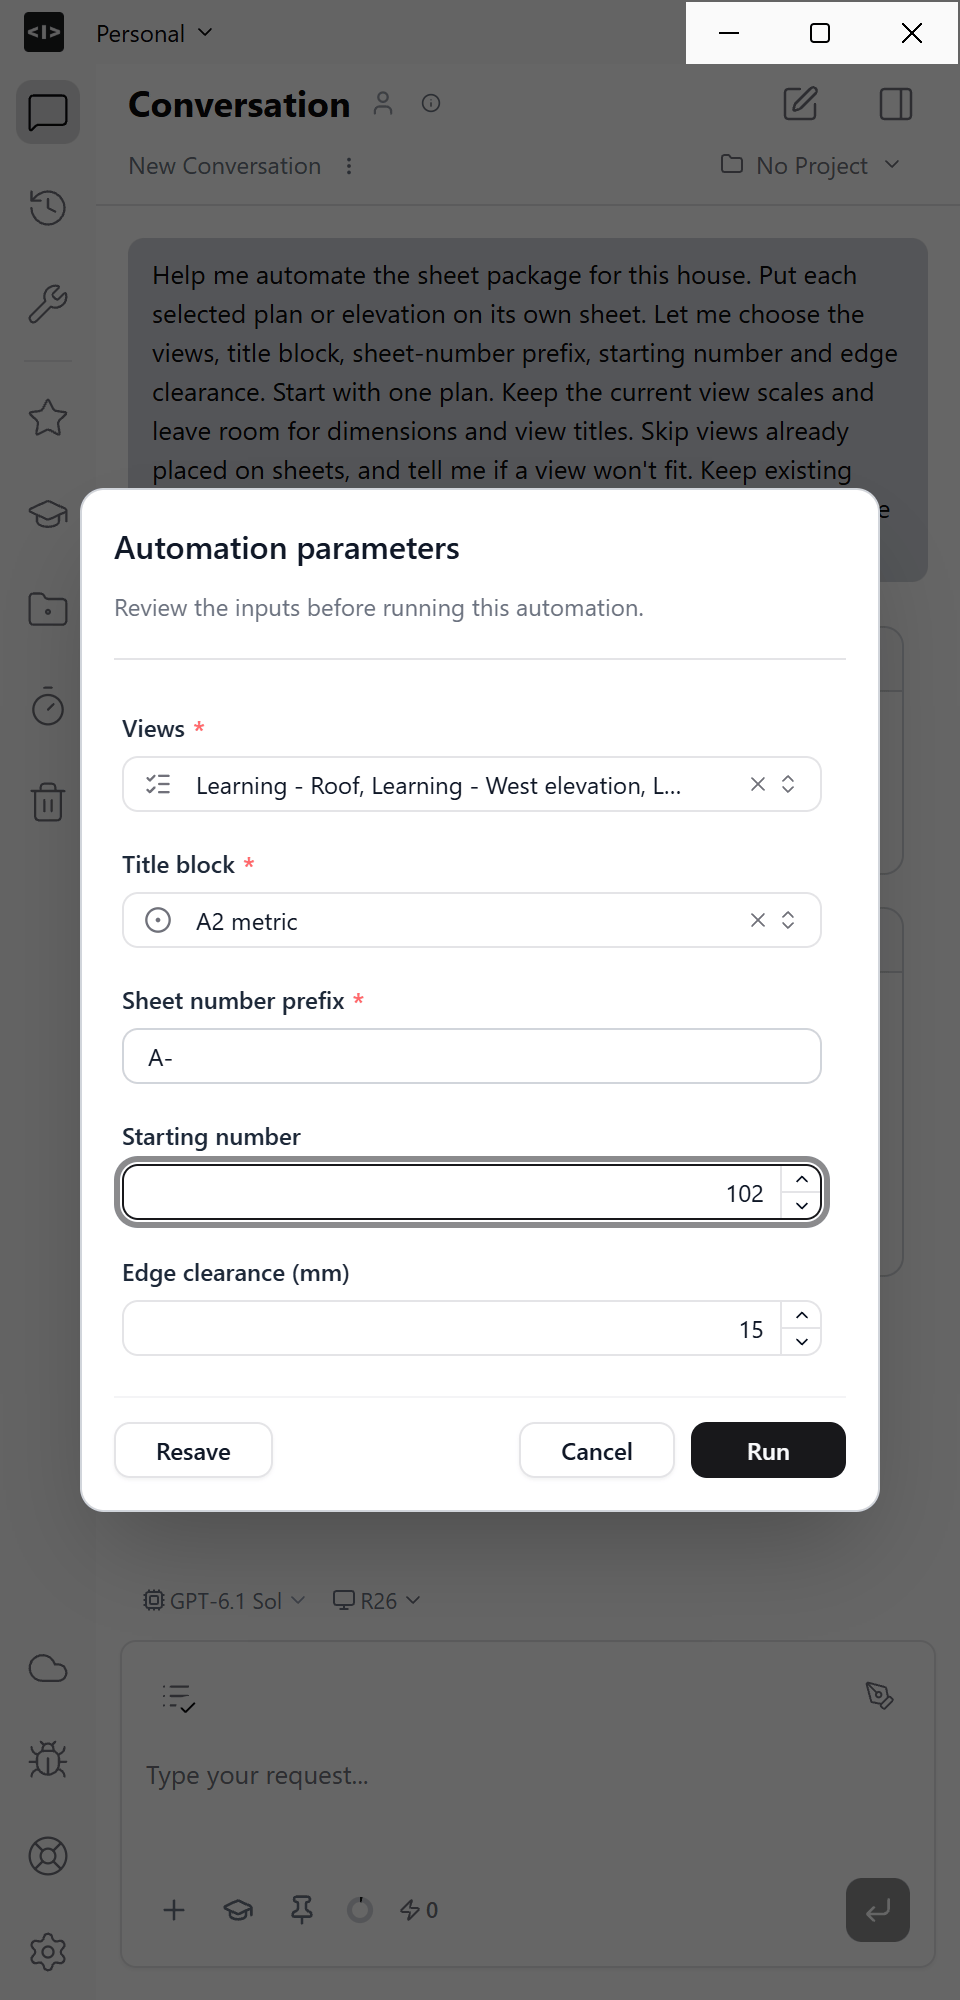
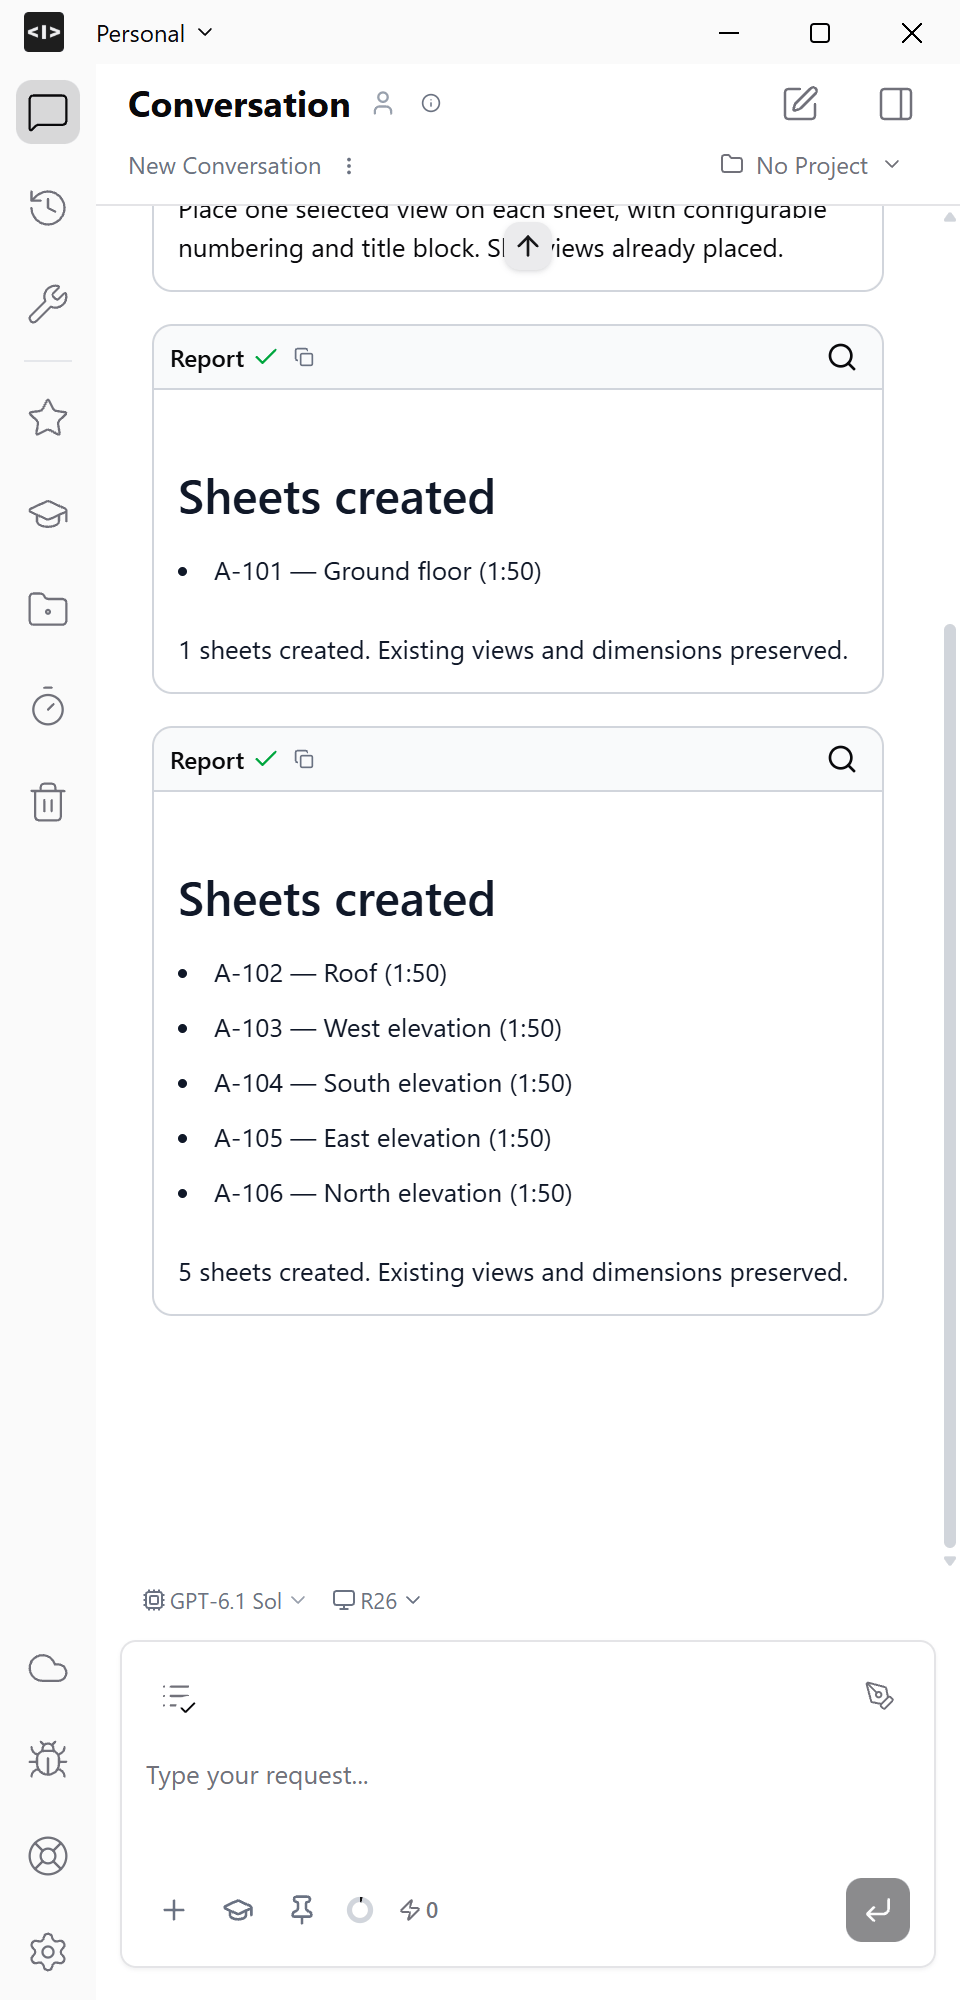
Save the automation and drawing package
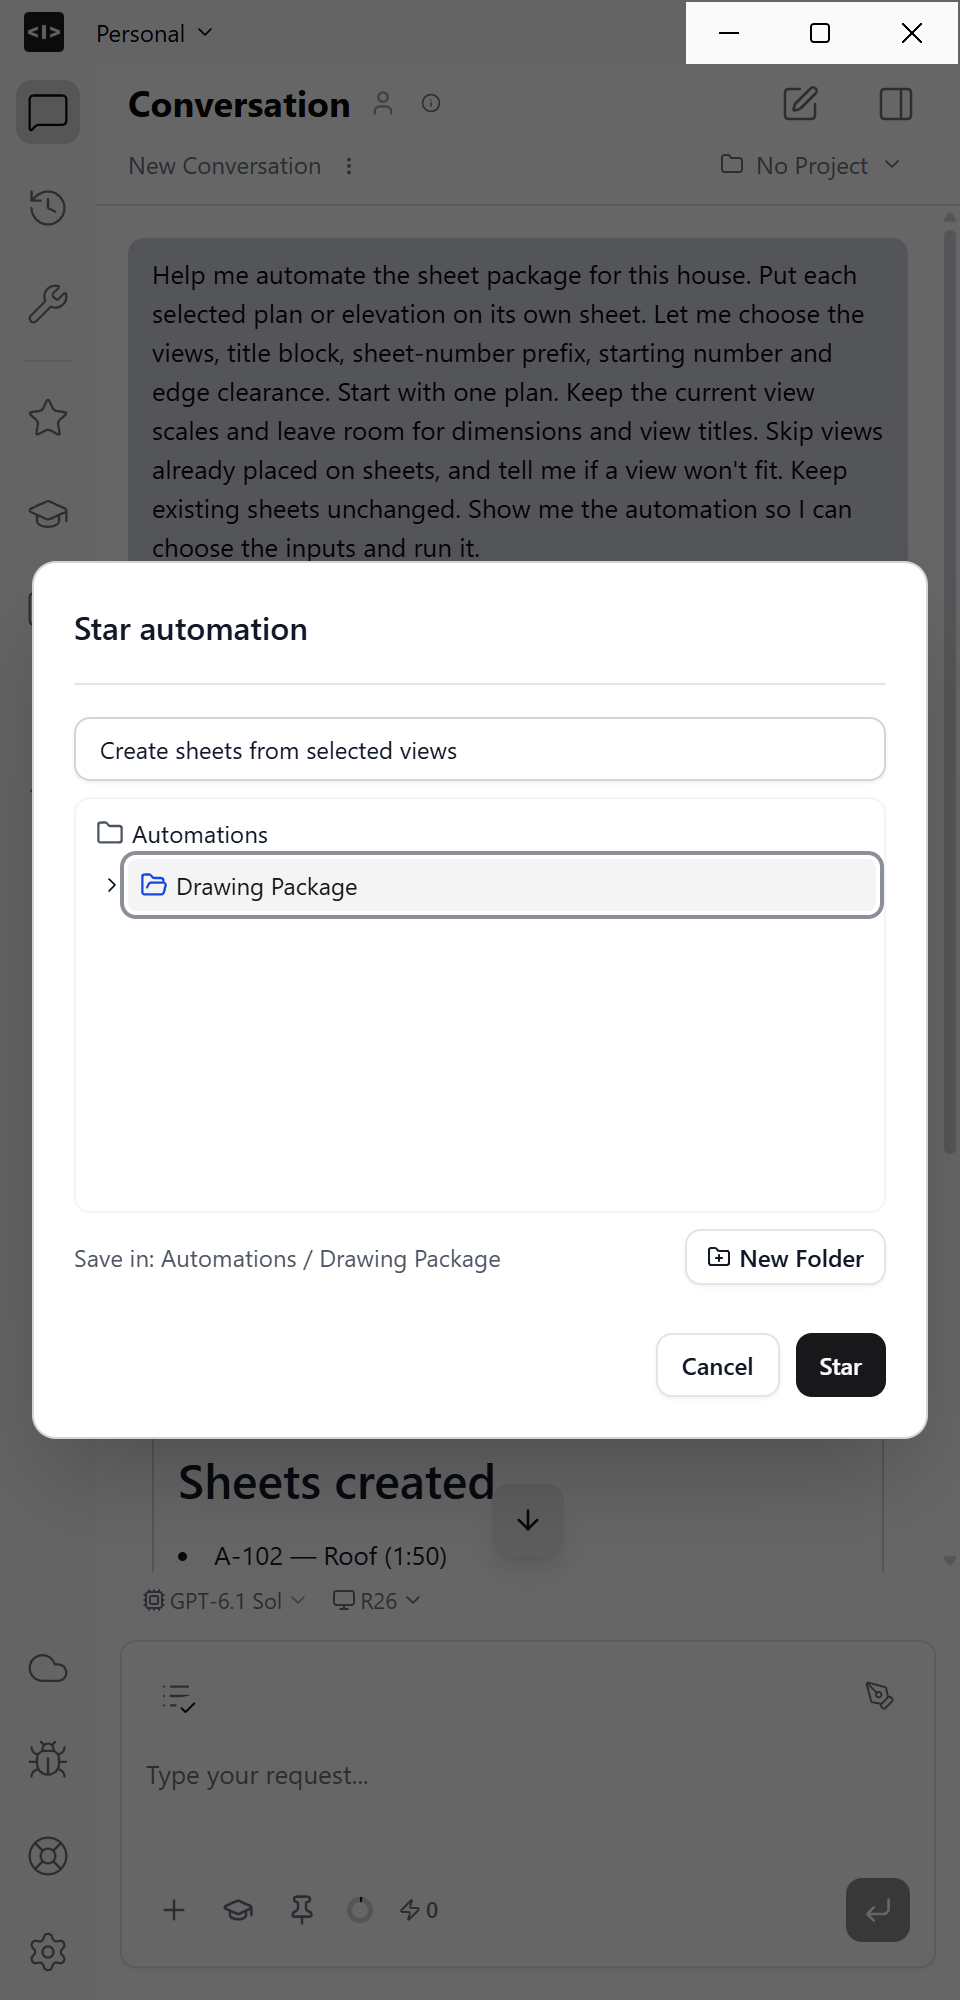
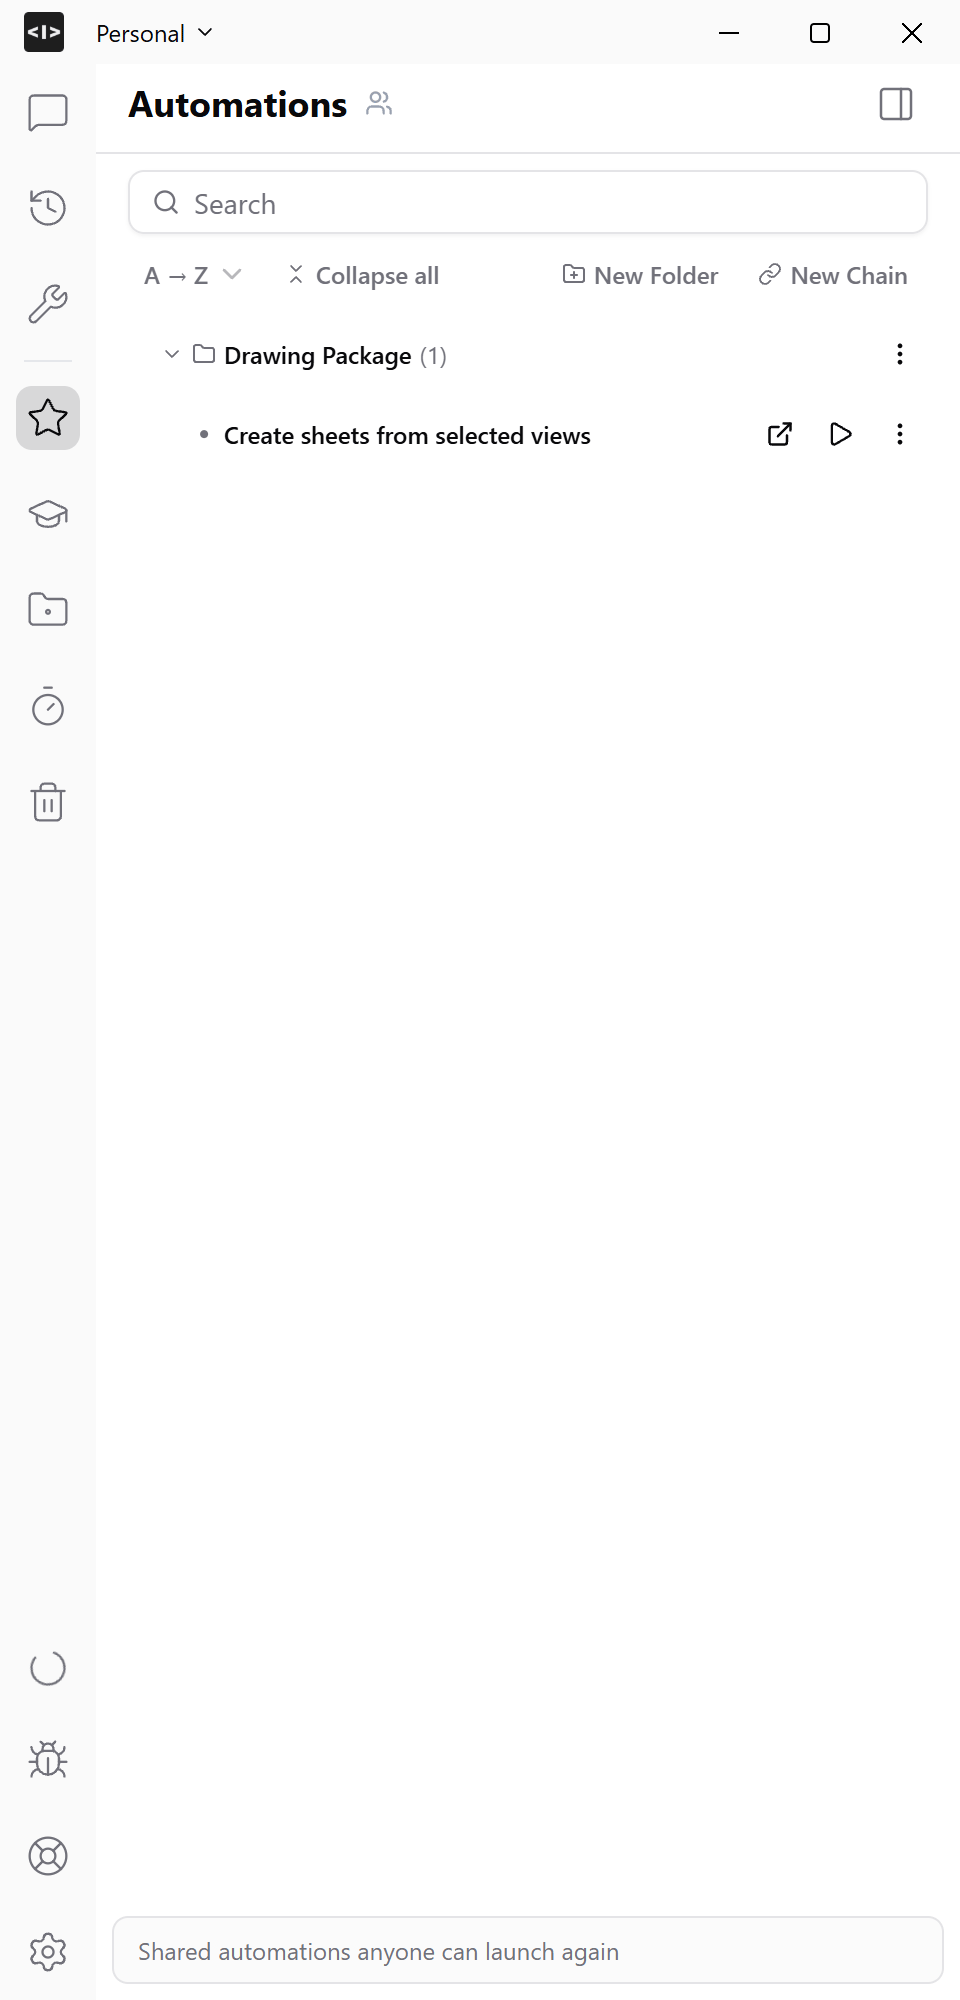
Open the checked automation’s three-dot menu and choose Star. Select the Drawing Package folder in your Library and save Create sheets from selected views there. You can run it again from Automations with a different set of views.