Start with one view, a few elements or one family. Use the guide that matches the result you need.

1. Connect the project or family

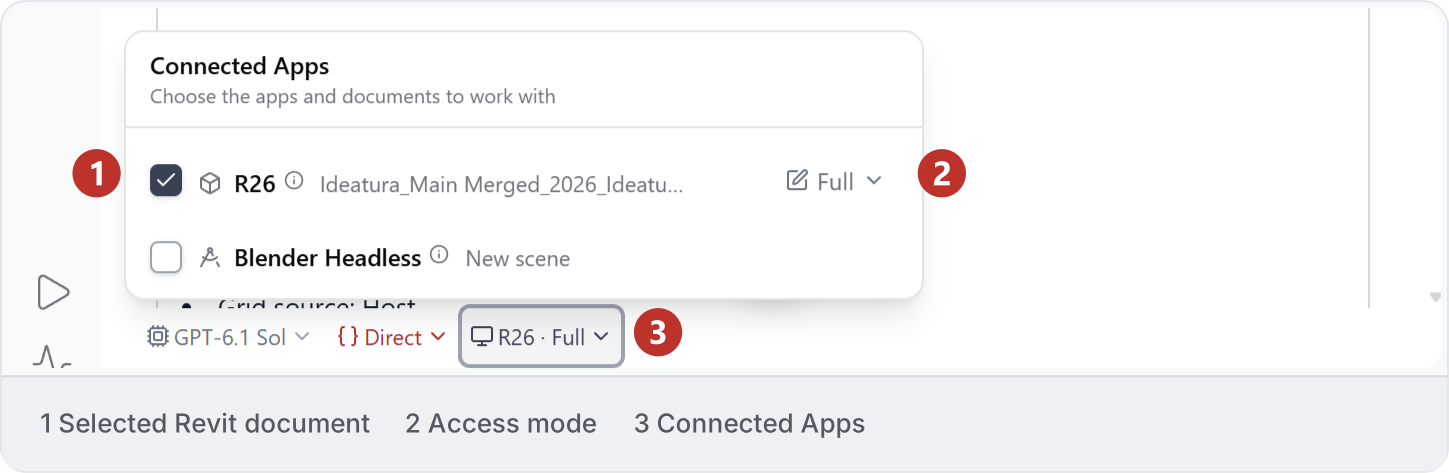
Open your project or family in Revit, then select it in Connected Apps. Check the view you want to work on and save or synchronise the file. See Setup or Connect your model for connection help. Selected Revit document with Full access in Connected Apps. The composer shows R26 Full; confirm the full document name in Revit.
2. Prepare drawings

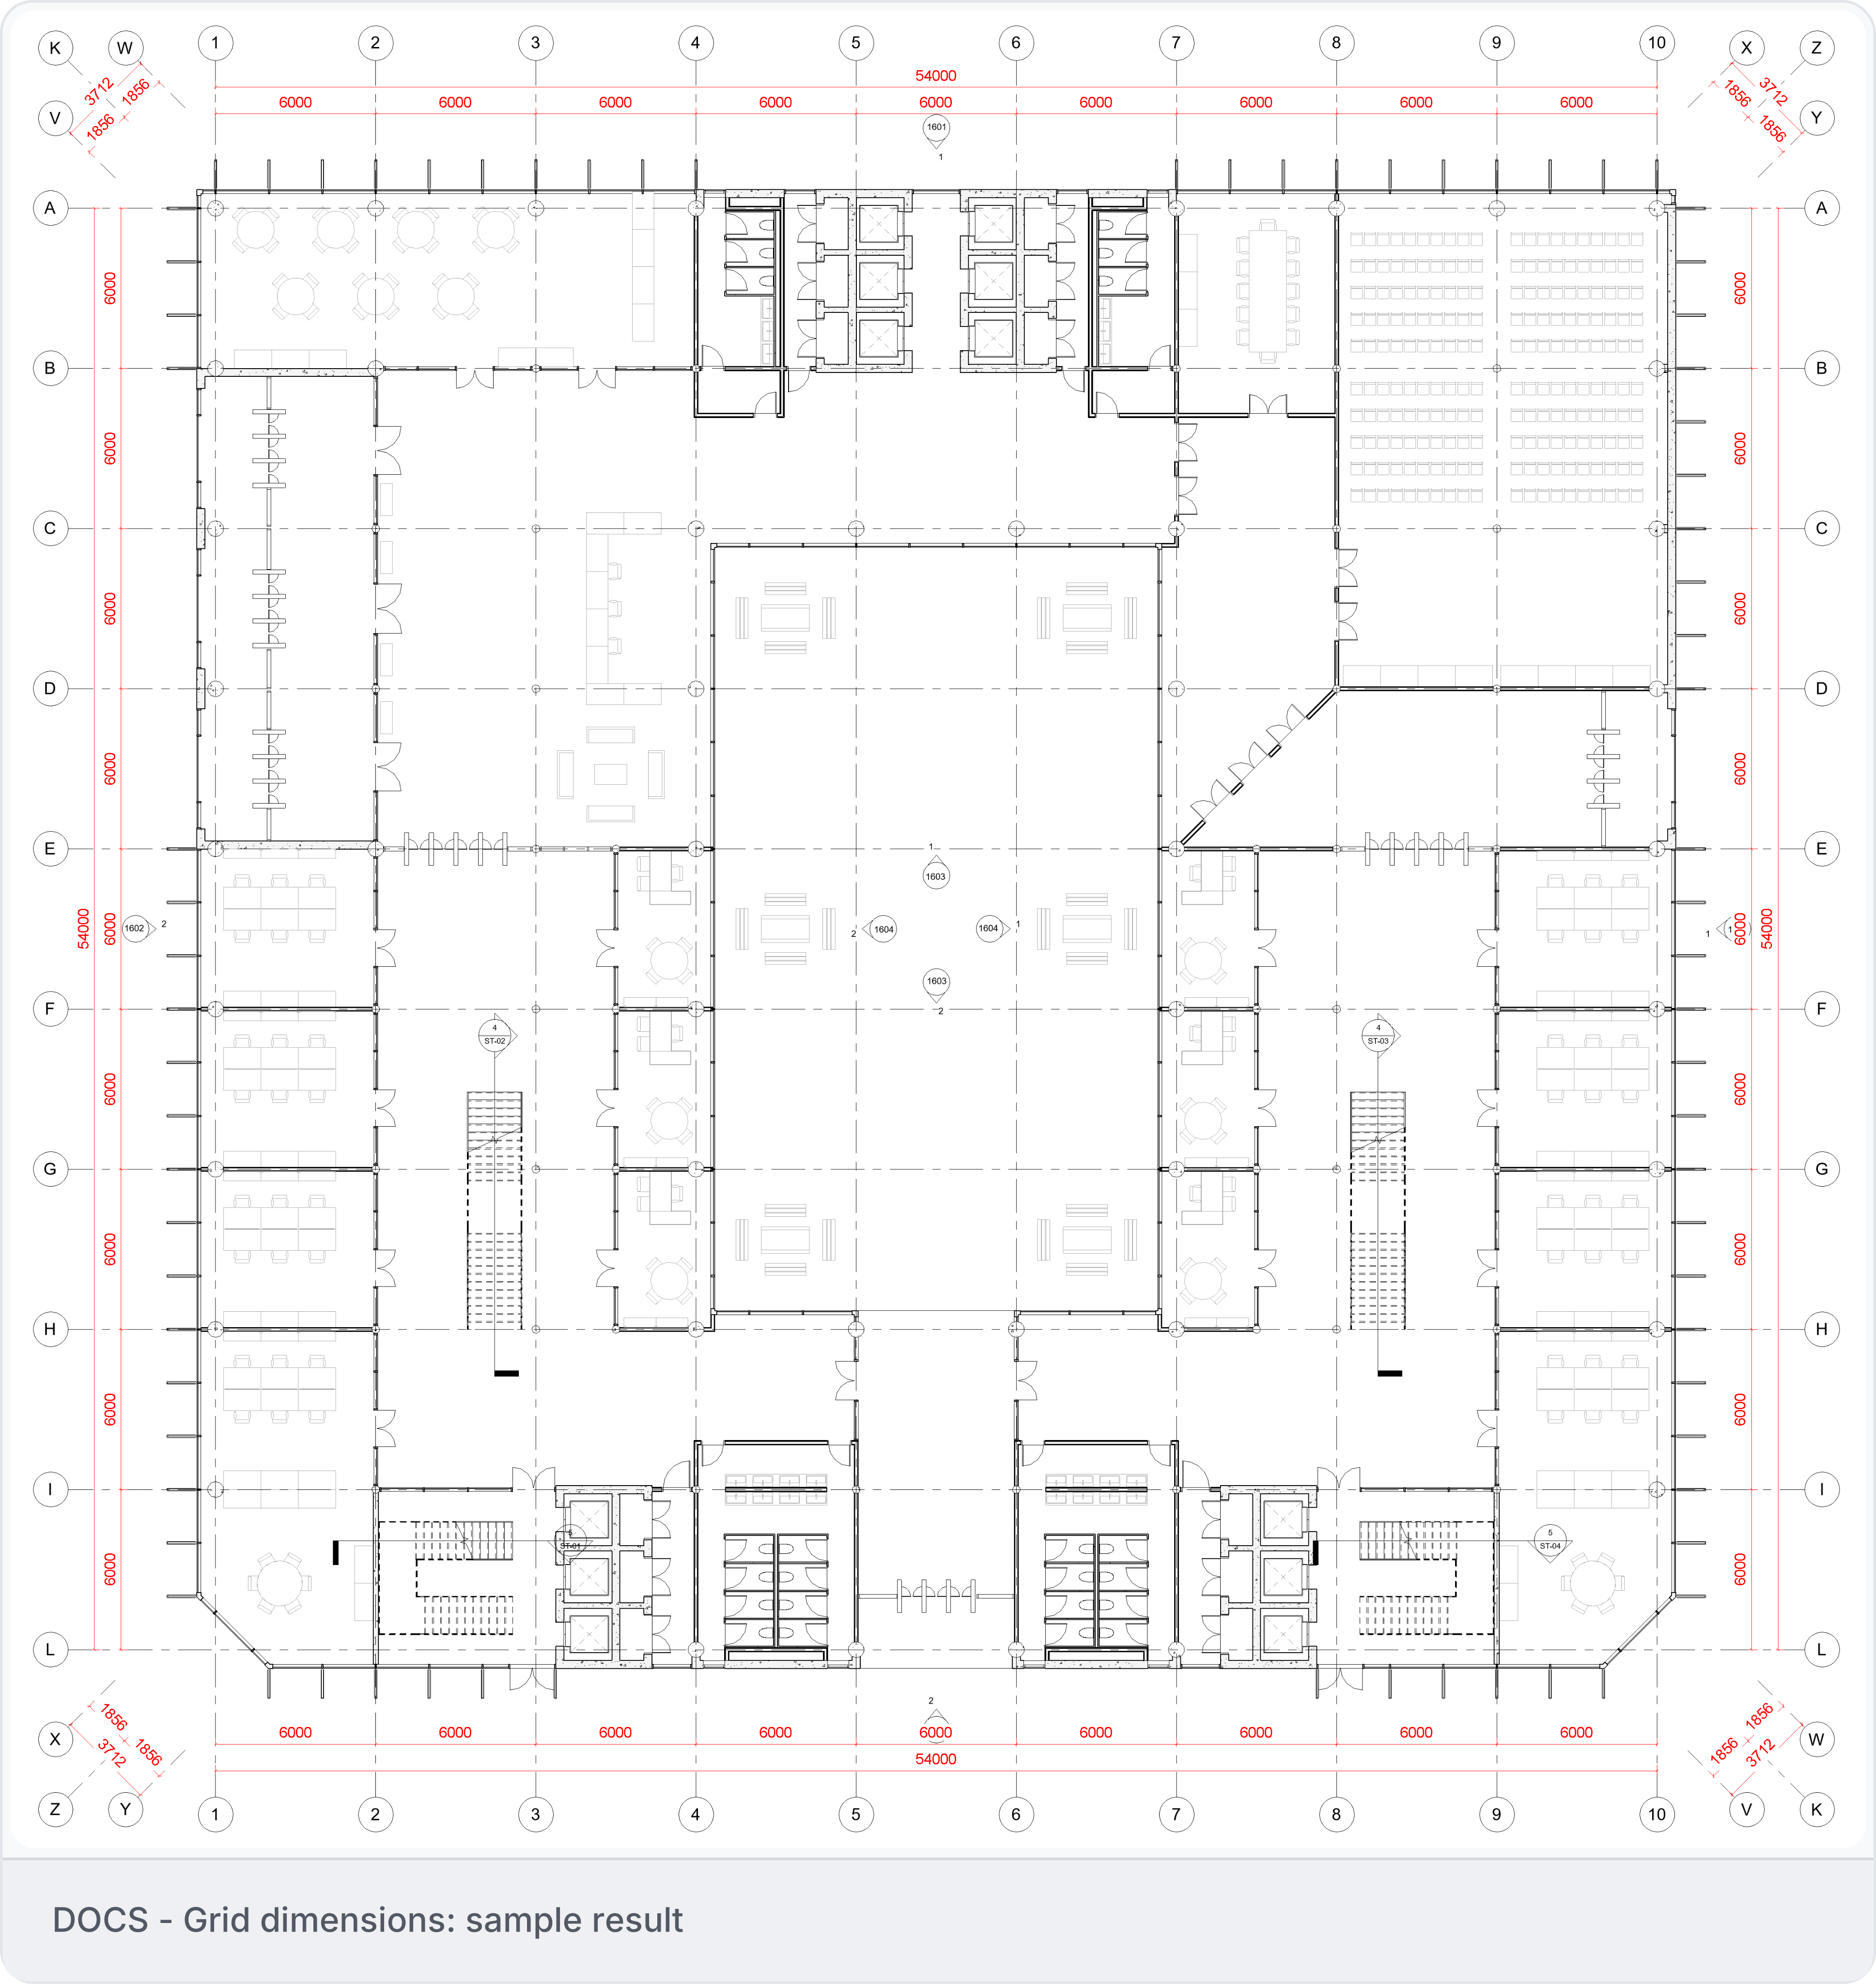
Follow Grid dimensions to configure and inspect dimensions on one floor plan. This sample created 16 dimension strings on a duplicate view, leaving the original plan unchanged. Check what the dimensions measure, their style and their distance from the grids. Revit sample view DOCS - Grid dimensions after the run, showing dimension strings around the plan and diagonal corner grids. For other dimensioning tasks, see Interactive dimensions. Define new grids and levels as separate tasks. Use Place tags and Schedules for other drawing requirements.
3. Assemble views and sheets

Follow Room packages to define views for actual Revit Rooms. If sheets already exist, use Populate sheets, then Arrange views to check placement. State templates, scale, naming, title blocks and the annotations still required.

4. Work on models and families

Choose Edit existing models for a limited change, DWG to Revit for vector drawing reconstruction, or Revit families for a component with defined parameters. These workflows need different inputs and checks; inspect native categories, relationships and editability as well as appearance.

5. Inspect before repeating

Check the result in Revit against your drawing. Look for missing or repeated items and ask for corrections. Save the project when it is right. See Review and recover for problems or Reuse across projects to use the task again.